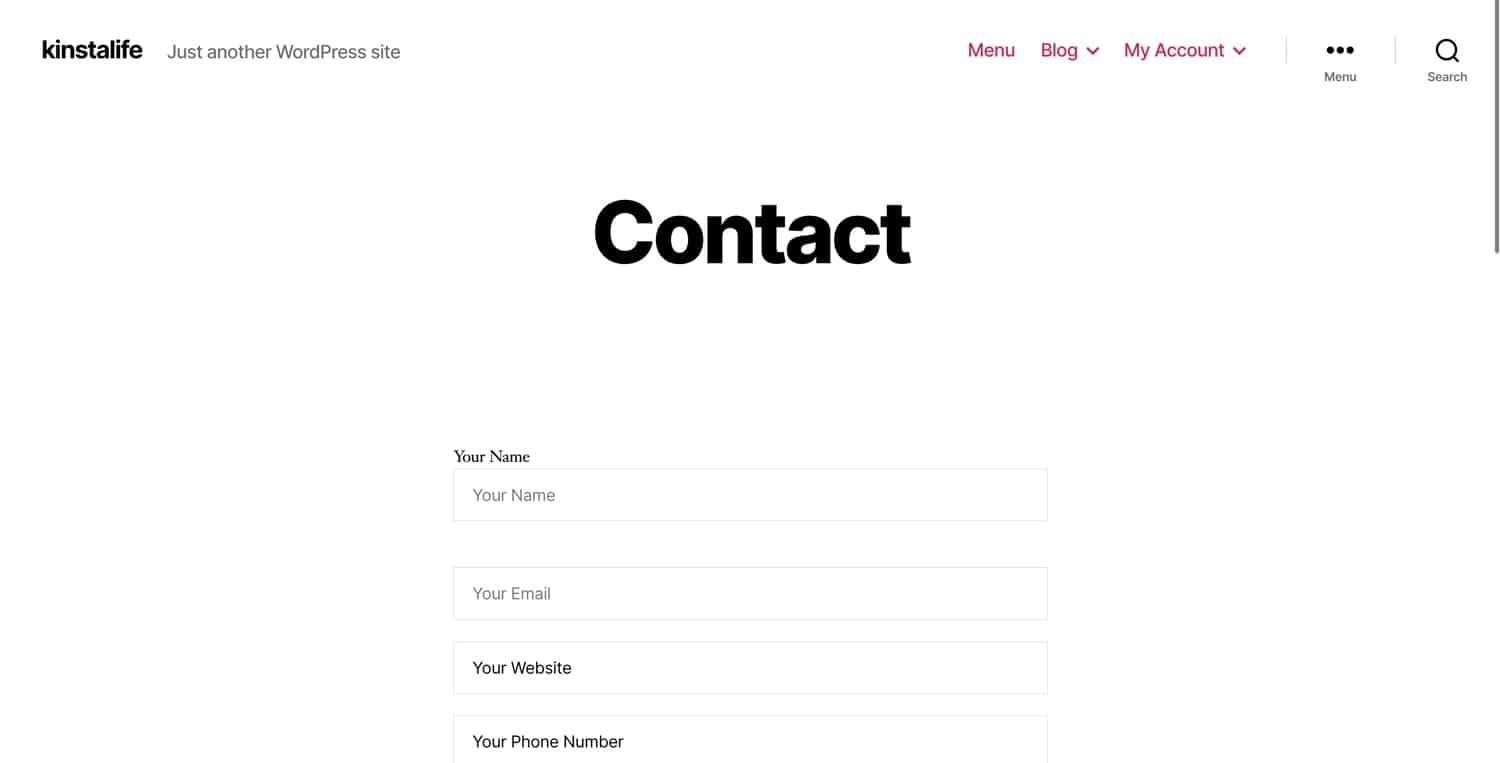
Are you looking to streamline communication on your website? Whether you’re a small business owner, a blogger, or someone just diving into the digital world, having a reliable way for your visitors to reach you is essential. Enter Contact Form 7—a powerful, user-friendly plugin for WordPress that makes managing inquiries a breeze. In this beginner’s guide, we’ll walk you through the simple steps to set up Contact Form 7, ensuring you can collect feedback, questions, or requests without any hassle. Don’t worry if you’re not tech-savvy; we’ll break it down into easy-to-follow instructions that even a complete novice can handle. So, let’s roll up our sleeves and transform your site into a communication hub that keeps the conversation going!
Understanding the Importance of a Contact Form for Your Website
In today’s digital landscape, a contact form is not just a nice-to-have feature but a crucial component of your website. It serves as the bridge between you and your visitors, allowing them to communicate their queries, feedback, or requests directly to you. By implementing a reliable contact form like Contact Form 7, you enhance user experience while ensuring that no potential client slips through the cracks.
Utilizing a contact form offers several key advantages:
- Streamlined Communication: A contact form provides a straightforward way for users to reach out, eliminating the confusion that often arises from unclear email addresses or phone numbers.
- Increased Trust: Professionalism is heightened when visitors see a well-structured form rather than an unmonitored email address, giving them confidence that their inquiries will be addressed.
- Data Collection: Contact forms can be customized to gather specific information, allowing you to understand your audience better and tailor your responses to their needs.
Moreover, a well-designed contact form can significantly reduce spam submissions. By incorporating features like CAPTCHA or field validation, you ensure that only genuine inquiries make their way to your inbox. This not only saves you time but also helps maintain the quality of interactions you have with your audience.
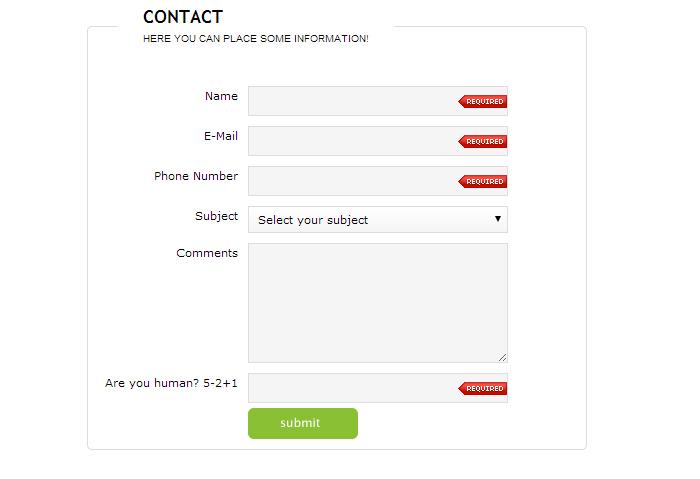
When it comes to setting up your contact form, simplicity is key. Your form should be intuitive, with clearly labeled fields that guide users through the submission process. Consider using a table to outline the essential elements of your contact form:
| Field | Description |
|---|---|
| Name | Visitor’s full name for personalized responses. |
| Essential for follow-up communication. | |
| Message | Space for visitors to express their thoughts or inquiries. |
| Subject | Helps categorize the nature of the inquiry. |
a contact form is your website’s lifeline to engage with visitors effectively. It not only fosters communication but also builds trust and enhances user satisfaction. By taking the time to set up and optimize your contact form, you invest in a tool that can significantly impact your website’s success and your business’s growth.
Getting Started with Contact Form 7: Installation Made Easy
Installing Contact Form 7 is a straightforward process that even beginners can handle with ease. To begin, you’ll need to access your WordPress dashboard. Once there, follow these simple steps:
- Navigate to Plugins and click on Add New.
- In the search bar, type Contact Form 7 and press enter.
- Locate the Contact Form 7 plugin in the search results and click on Install Now.
- After the installation is complete, click on Activate to enable the plugin.
Once activated, you will find a new menu item labeled Contact in your WordPress dashboard. Clicking on it will take you to the main settings page for Contact Form 7. Here, you’ll see the default contact form created for you. You can easily customize this form to fit your needs.
To create a new form, click on Add New. You’ll be greeted with a user-friendly editor that allows you to add various fields such as:
- Text fields for your users to enter information.
- Email fields to collect email addresses.
- Checkboxes for multiple selections.
- Dropdown menus for predefined options.
As you create your form, the plugin generates a shortcode that you can easily copy and paste into any post or page. Simply switch to the post or page where you want the form to appear, paste the shortcode, and save your changes. Your new contact form is now ready to go!
For additional customization, you can explore the Mail tab within the form settings. Here, you can specify the recipient’s email address, customize the email subject, and select what information to include in the notification. This ensures that inquiries from users come straight to your inbox, making it easier to connect with them.
Navigating the Contact Form 7 Interface: A Quick Overview
When you first access Contact Form 7 in your WordPress dashboard, you’ll be greeted by a simple yet powerful interface designed to make form creation a breeze. The layout is intuitive, with clearly labeled sections to help you navigate through the various options available. At the top of the page, you’ll find your form list, displaying all the forms you’ve created. This list is where you can edit, delete, or view the forms you’ve set up.
Upon selecting a form, you’ll land on the form editor. Here, you can customize your form fields with a variety of input types, including text, email, checkboxes, and dropdowns. The editor utilizes a simple markup language that allows you to add elements with ease. For instance, by clicking on the buttons above the form editor, you can insert fields quickly:
- Text – For short answers
- Email – To collect email addresses
- Checkboxes – For multiple choices
- File Upload – To allow users to send files
Another essential section is the mail settings. This is where you define how the form submissions are handled. You can specify the recipient’s email address, customize the subject line, and even create a personalized message that the user will see upon submitting the form. Keeping the email content clear and concise is crucial for improving user engagement.
Moreover, under the messages tab, you can customize the various notification messages that users see, such as confirmation of successful submission or error messages for incomplete forms. Personalizing these alerts not only enhances the user experience but also reinforces your brand’s voice.
don’t overlook the additional settings tab, where you can enable features like reCAPTCHA for spam protection or customize JavaScript validation options. These settings can significantly improve the functionality and security of your forms, ensuring that you’re providing a seamless experience for users while safeguarding against unwanted submissions.
Creating Your First Contact Form: Step-by-Step Instructions
Creating your first contact form with Contact Form 7 can seem daunting, but it’s a straightforward process that will enhance user engagement on your website. To get started, you’ll need to ensure you have the Contact Form 7 plugin installed and activated on your WordPress site. Once you’ve done that, follow these easy steps:
- Access the Plugin: From your WordPress dashboard, navigate to Contact > Add New.
- Create Your Form: You’ll be greeted with a default form template. Feel free to tweak the fields as per your needs. Add fields like Name, Email, Message, and any custom fields ideal for your business.
- Configure Mail Settings: Head over to the Mail tab. Configure the recipient address, subject line, and any additional headers. This step ensures that you receive submissions directly in your inbox.
- Customize Messages: Under the Messages tab, personalize the notifications your users receive after form submission. Tailor messages for success, error, and validation to enhance user experience.
Once you’ve customized your contact form, it’s time to embed it into your site. Click the Save button, and you’ll see a shortcode generated for your form. This shortcode is the magic key to displaying your form anywhere on your site.
To add the form to a page or post, simply copy the shortcode and paste it into the content area of the editor where you want the form to appear. If you’re using the block editor, you can add a Shortcode block and paste it there. It’s that easy!
After you’ve added the shortcode, preview the page to see how it looks. Adjust the design using CSS if you want a more customized appearance. Here’s a simple CSS snippet you can use to enhance the look of your form:
        .wpcf7-form {
            border: 1px solid #ccc;
            padding: 20px;
            border-radius: 5px;
            background-color: #f9f9f9;
        }
test your contact form by filling it out and submitting it. Ensure everything works smoothly, and monitor your email for the submissions. With your new contact form in place, you’re well on your way to better communication with your visitors!
Customizing Your Form Fields: Tips for Collecting the Right Information
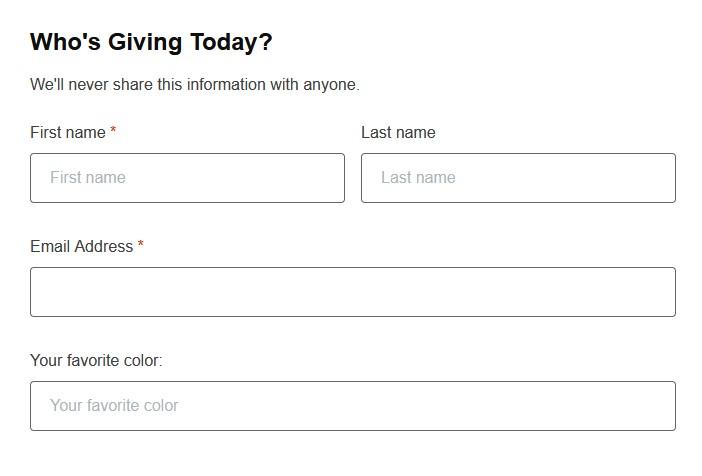
When it comes to setting up your Contact Form 7, one of the most critical aspects is customizing your form fields to collect the right information. The way you frame your questions can significantly impact the quality and relevance of the responses you receive. To create an effective form, consider the following tips:
- Be Specific: Vague questions can lead to vague answers. Instead of asking, “What services are you interested in?” try “Please select one or more services: Web Design, SEO, Marketing.” This provides clearer options.
- Limit Choices: While it’s important to provide options, too many can overwhelm users. Aim for a balance by limiting choices to a manageable number. You can always follow up with additional questions if needed.
- Use Required Fields Wisely: Make essential fields mandatory, but avoid making every field required. This can deter users from completing the form. Focus on collecting information that truly matters.
- Incorporate Conditional Logic: If your form plugin supports it, consider using conditional fields. This allows you to show or hide fields based on previous answers, making the form more dynamic and user-friendly.
Another critical factor is the layout of your form. A clean and organized design makes it easier for users to navigate and respond. Here are some suggestions to enhance usability:
| Design Element | Recommendation |
|---|---|
| Field Size | Ensure input fields are large enough for easy typing, especially for long responses. |
| Button Visibility | Make your submit button prominent with a contrasting color. |
| Spacing | Use adequate spacing between fields to avoid clutter. |
Lastly, don’t forget the importance of testing your form. Before going live, fill it out yourself or ask a friend to do so. This test will reveal any confusing elements or technical issues that might hinder users from submitting their information. Gathering feedback will help you refine your form and ensure it’s as effective as possible.
How to Configure Email Notifications for Your Contact Form
Configuring email notifications for your contact form is essential to ensure that you never miss an inquiry from your visitors. With Contact Form 7, this process is straightforward and user-friendly. Let’s break it down step by step.
First, navigate to your WordPress dashboard and click on “Contact” in the sidebar. Select the contact form you want to configure. Once you’re in the form editor, look for the “Mail” tab. This is where you’ll set up your email notifications. Ensure the “Enable Mail” option is checked. It’s time to fill out the required fields:
- To: Enter the email address where you want to receive the notifications. You can add multiple addresses separated by commas.
- From: Use a recognizable email address, often the same domain as your website, to enhance deliverability.
- Subject: Craft an engaging subject line that reflects the content of the inquiry, such as “New Contact Form Submission.”
- Message Body: Customize the message body to include the fields you want to be notified about. You can use form tags here for dynamic content.
Here’s a sample of the Message Body you might consider:
| Name | Message | |
|---|---|---|
| [your-name] | [your-email] | [your-message] |
After filling in the necessary fields, ensure to save your changes. To further enhance your notifications, consider using plugins that allow for additional features like conditional logic or integration with other email marketing services. This can help you streamline communication and better manage your leads.
it’s a good idea to test your contact form after setting up the notifications. Fill out the form yourself and verify that the email notifications are sent correctly. This ensures that you’re ready to capture inquiries effectively and respond promptly to your visitors.
Styling Your Form: Making It Fit Your Website’s Aesthetic
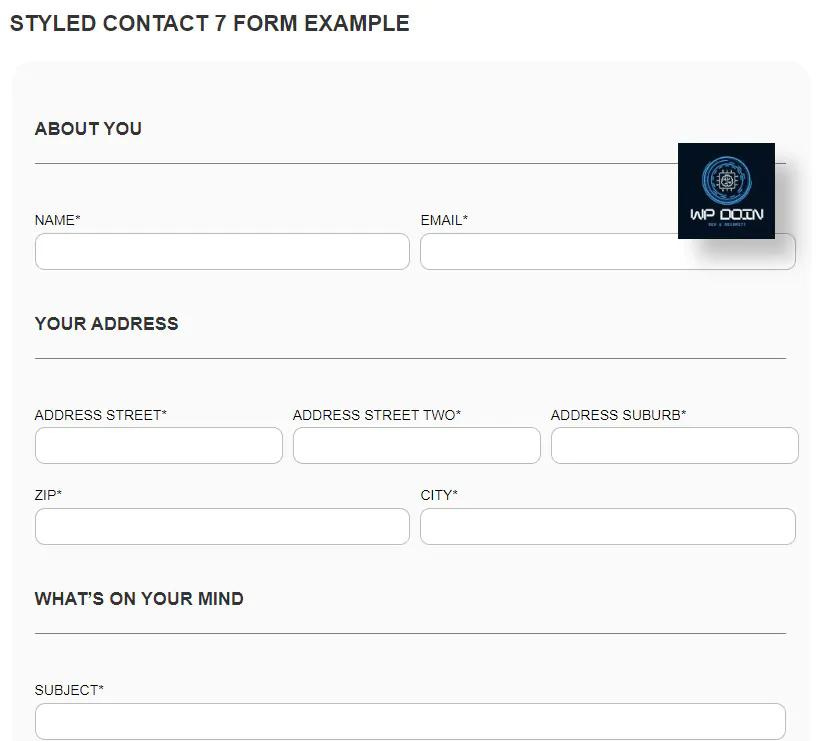
When it comes to creating a contact form that resonates with your visitors, styling plays a pivotal role. A well-designed form not only enhances the user experience but also reinforces your brand’s identity. Let’s explore some practical approaches to ensure your form harmonizes beautifully with your website’s aesthetic.
First, consider the color scheme of your website. Incorporate colors that match your brand palette into your form’s design. This can be done by adding custom CSS in your theme’s settings or through the Contact Form 7 plugin. Here’s a simple example of how to change the background and border color:
  .wpcf7-form {
      background-color: #f9f9f9; / Light grey background /
      border: 2px solid #0073aa; / WordPress blue border /
  }
Next, focus on typography. The font you choose should be legible and consistent with the rest of your site. You can define font styles directly in the CSS:
  .wpcf7-form input,
  .wpcf7-form textarea {
      font-family: 'Arial, sans-serif'; / Choose your preferred font /
      font-size: 16px; / Adjust size for readability /
  }
To add a touch of elegance, consider using padding and margins. Sufficient space between fields not only improves aesthetics but also enhances usability. Here’s how you can adjust the spacing:
  .wpcf7-form input,
  .wpcf7-form textarea {
      margin-bottom: 15px; / Space between fields /
      padding: 10px; / Padding inside fields /
  }
Lastly, don’t forget about the submit button. This is a crucial element of your form, and it should stand out. Experiment with different styles to make it pop:
  .wpcf7-submit {
      background-color: #28a745; / Green background /
      color: white; / White text for contrast /
      border: none; / Removes default border /
      padding: 10px 20px; / Nice padding for a clickable button /
      cursor: pointer; / Indicates it's clickable /
  }
By following these styling tips, you can turn a simple contact form into a visually appealing component of your website. Your form will not only look great but also function smoothly, inviting users to reach out and connect with you.

Troubleshooting Common Issues: Solutions for a Smooth Experience
Setting up Contact Form 7 can sometimes lead to unexpected challenges. Don’t worry; most issues are easily fixable. Here are some common problems you might encounter along with their solutions:
- Form Not Sending Emails: If your form submissions aren’t being sent, check your email settings. Ensure that the “To” field contains a valid email address. Additionally, consider using an SMTP plugin to improve email deliverability.
- Validation Errors: Sometimes, users may experience validation errors when submitting the form. Make sure that your fields are properly configured and that required fields are filled out. You can also test your form with different browsers to spot any inconsistencies.
- JavaScript Conflicts: Conflicting JavaScript from other plugins can disrupt your form’s functionality. Use your browser’s developer tools to check for errors in the console. If conflicts arise, try disabling other plugins one by one to identify the culprit.
- Styling Issues: If your form’s appearance doesn’t match your site’s design, custom CSS might be necessary. Use the Customizer or a child theme to add styles that enhance the visual appeal of your form.
To help you troubleshoot efficiently, here’s a quick reference table that summarizes these common issues and their solutions:
| Issue | Solution |
|---|---|
| Form Not Sending Emails | Check email settings; consider SMTP plugin. |
| Validation Errors | Ensure fields are configured correctly; test in different browsers. |
| JavaScript Conflicts | Identify conflicts using developer tools; disable plugins to find issues. |
| Styling Issues | Add custom CSS via Customizer or child theme. |
By following these steps, you’ll be able to resolve most common issues quickly and maintain a seamless experience for your users. Don’t hesitate to reach out for help if you’re stuck; the WordPress community is here to support you!
Enhancing Your Form with Add-ons and Integrations
Once you have your basic contact form set up, the real fun begins! By integrating various add-ons, you can supercharge your form capabilities and provide an enhanced experience for your users. Here are some fantastic options you might consider:
- Akismet Integration: Protect your forms from spam submissions effortlessly. This popular plugin works behind the scenes to automatically filter out unwanted entries.
- Google reCAPTCHA: One of the most effective ways to ensure genuine submissions, it adds an extra layer of security without compromising user experience.
- Mailchimp Add-on: Seamlessly connect your form to your Mailchimp account, allowing you to build your email list with ease and keep your audience engaged.
- PayPal Add-on: If you’re looking to take payments through your form, this add-on allows for smooth transactions, making it ideal for donations or service bookings.
But that’s just the tip of the iceberg! Here’s a quick comparison of some popular add-ons that can elevate your Contact Form 7 experience:
| Add-on | Functionality | Compatibility |
|---|---|---|
| Akismet | Spam protection | All forms |
| Google reCAPTCHA | Security check | All forms |
| Mailchimp | Email marketing | Leads collection |
| PayPal | Payment processing | Order forms |
When selecting add-ons, consider your specific needs and the type of interaction you want your users to have with your form. The right integrations not only streamline your process but can also lead to increased conversions and user satisfaction.
Additionally, exploring custom CSS options can enhance your form’s aesthetics and ensure it aligns perfectly with your website’s branding. Don’t hesitate to experiment with styles that make your form visually appealing and easy to navigate.
Ultimately, incorporating these add-ons and integrations will not only enrich the functionality of your form but also create a seamless experience for your visitors, encouraging them to reach out and engage with your content. So, get creative and make your contact forms work harder for you!
Best Practices for Managing Submissions and Following Up
Successfully managing submissions from your Contact Form 7 can enhance user experience and improve your response rate. Here are some best practices to consider:
- Set Up Email Notifications: Ensure that your email notifications are set up correctly so that you receive submissions instantly. Customize the email template to include all necessary information, such as the user’s name, email, and message.
- Organize Responses: Utilize a dedicated email folder for form submissions. This practice helps keep your inbox clutter-free and allows for easy access when you need to follow up.
- Use a CRM System: Integrate your submissions with a Customer Relationship Management (CRM) platform. This will enable you to track interactions and manage leads effectively.
Following up with users is just as important as managing submissions. Consider these strategies to ensure timely and effective communication:
- Establish a Follow-Up Timeline: Create a standard timeline for follow-ups based on the type of submission. For example, respond to inquiries within 24 hours, while feedback can be acknowledged within a week.
- Personalize Your Messages: Tailor your response to the specific submission. Personalization goes a long way in making users feel valued and more likely to engage with you again.
- Utilize Templates Wisely: While templates can save time, ensure they don’t sound robotic. A few personal touches can make a big difference.
Another effective method for managing submissions and follow-ups is to track your interactions. Consider using a simple table to log important details:
| User Name | Date Submitted | Status | |
|---|---|---|---|
| Jane Doe | [email protected] | 2023-10-01 | Followed Up |
| John Smith | [email protected] | 2023-10-02 | Pending |
| Emily Johnson | [email protected] | 2023-10-03 | Followed Up |
Implementing these best practices will not only enhance your submission management but also foster positive relationships with your users. Remember, effective communication is the backbone of user satisfaction!
Frequently Asked Questions (FAQ)
Q&A: How to Set Up Contact Form 7: Beginner’s Guide
Q1: What is Contact Form 7 and why should I use it?
A: Great question! Contact Form 7 is a powerful, free WordPress plugin that lets you create and manage multiple contact forms with ease. It’s user-friendly, customizable, and integrates seamlessly into your website. If you want to enhance communication with your visitors and gather valuable feedback, Contact Form 7 is a fantastic choice. Plus, who doesn’t want to make it easy for potential clients to reach out?
Q2: How do I install Contact Form 7 on my WordPress site?
A: Installing Contact Form 7 is a breeze! Simply go to your WordPress dashboard, click on ‘Plugins’, then ‘Add New’. Search for “Contact Form 7” in the search bar. Once you find it, click ‘Install Now’ and then ‘Activate’. Voila! You’re ready to start creating your first form. Think of it as opening a door to better communication with your audience.
Q3: Can I customize my contact form?
A: Absolutely! Customization is one of the best features of Contact Form 7. You can choose from various fields like text boxes, email fields, checkboxes, and dropdown menus. Want to add a personal touch? Use the built-in HTML editor to customize the look and feel of your form. Your form can match your branding perfectly—making it not just functional, but attractive too!
Q4: What if I need help with advanced features?
A: No worries! Contact Form 7 offers plenty of add-ons and integrations to enhance functionality, like spam protection with Akismet and automatic replies. Check out their official documentation or forums for tips and troubleshooting. It’s a community of users just like you, eager to help each other out. You’re never alone on this journey!
Q5: How can I ensure I’m receiving all submitted messages?
A: To make sure you don’t miss any messages, double-check your email settings within the plugin. You can set the recipient email address where submissions will go, and even customize the email template. Plus, consider enabling notifications so you get alerts every time someone fills out the form. Trust me, you’ll want to know what your visitors are saying!
Q6: Is there a way to track the performance of my contact forms?
A: Yes! While Contact Form 7 doesn’t have built-in analytics, you can integrate it with other plugins like Google Analytics to track submissions and conversions. This data can be invaluable for understanding how your visitors interact with your site. It’s like having a crystal ball to see what works and what doesn’t!
Q7: Any quick tips to make my contact form more effective?
A: Definitely! Keep the form simple and user-friendly—ask only for essential information to encourage submissions. Use clear labels and instructions, and avoid jargon. Consider adding a success message or redirecting users to a thank-you page after submission. This not only improves user experience but also encourages them to reach out again!
Q8: Can I use Contact Form 7 on multiple pages?
A: Yes, you can! Once you create a form, you’ll receive a shortcode that you can easily copy and paste into any page or post. This flexibility allows you to have different forms on different pages, catering to various needs—whether it’s a general inquiry or a specific service request.
Q9: Is Contact Form 7 mobile-friendly?
A: Absolutely! Contact Form 7 is designed to be responsive and works beautifully on all devices. In today’s world, where many users browse on their phones, having a mobile-friendly form is crucial. You’ll ensure that every potential client can easily reach you, no matter where they are.
Q10: I’m excited to set it up! Where do I start?
A: Start by diving right into the installation process and creating a simple form to get your feet wet. Explore the customization options and don’t hesitate to play around with different fields and settings. The best part? You can always tweak and improve your form over time. Your journey to better communication starts now—let’s make it happen!
Closing Remarks
Conclusion: You’re Just One Step Away!
Congratulations! You’ve now unlocked the keys to setting up Contact Form 7 like a pro. With all the tools and tips we’ve covered, you’re well on your way to creating a seamless communication channel with your audience. Remember, a well-structured contact form isn’t just a nicety—it’s a necessity for fostering connections, generating leads, and boosting your online presence.
Don’t let the technical aspects intimidate you! Just take it one step at a time, and soon you’ll find that managing inquiries becomes second nature. The beauty of Contact Form 7 lies in its flexibility and ease of use, making it an essential tool for any website owner.
So, why wait? Dive in, experiment with the features we’ve discussed, and customize your forms to reflect your unique brand voice. Your visitors will appreciate the effort, and you’ll be delighted with the increase in engagement!
If you run into any hiccups along the way or have questions about specific features, don’t hesitate to reach out. The community is here to help, and I’m just a comment away. Now, go ahead and transform your website into a more interactive space—your visitors are eager to connect! Happy form building!

