
Are you ready to take your WordPress website to the next level? Whether you’re a blogger, a small business owner, or a digital creator, having a staging site is like having a safety net for your online presence. Imagine being able to experiment with new themes, plugins, or design changes without risking your live site. Sounds appealing, right? In this beginner’s guide, we’ll walk you through the simple steps to set up your very own WordPress staging site. No tech wizardry required! By the end, you’ll be empowered to test out changes confidently, ensuring that your site remains as polished and professional as you envision it. So let’s dive in and unlock the power of staging—your website will thank you!
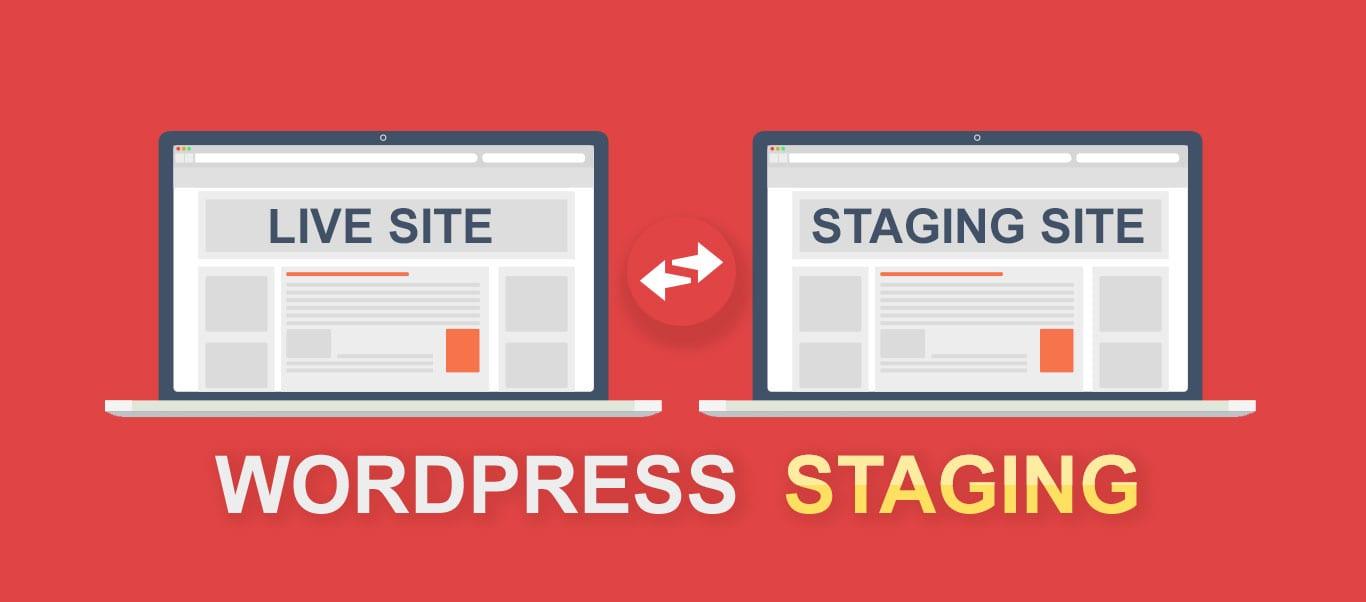
Understanding the Importance of a Staging Site for Your WordPress Journey
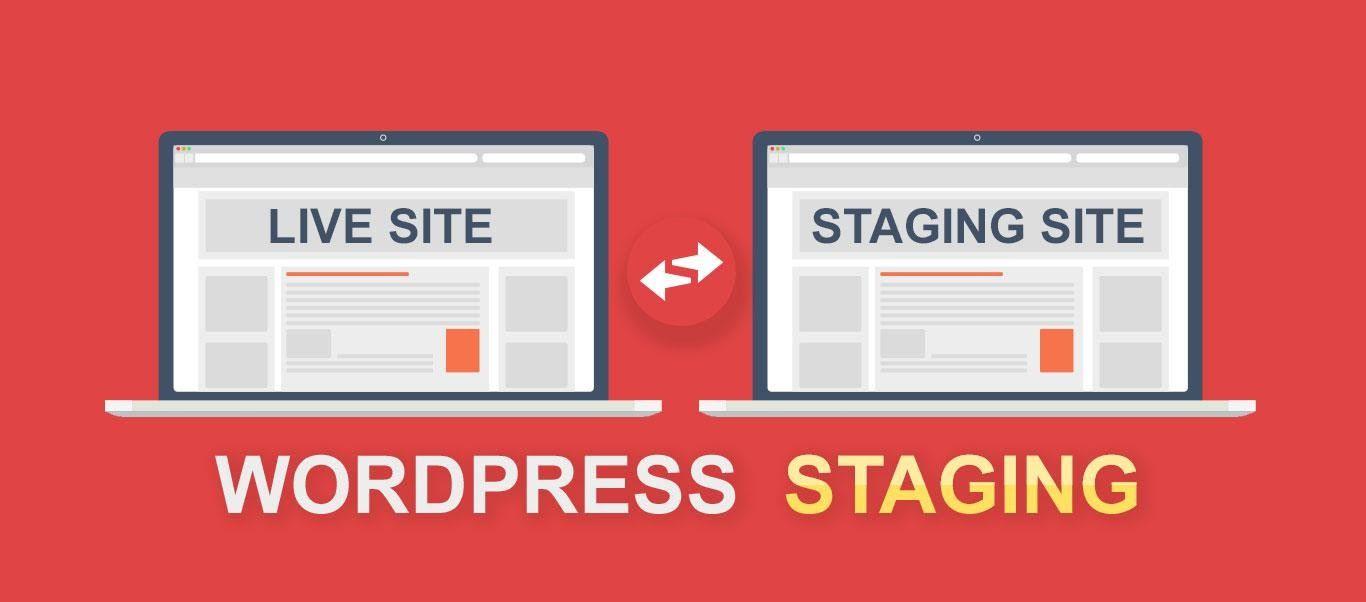
When it comes to managing your WordPress website, the significance of a staging site cannot be overstated. A staging site acts as a safe haven where you can experiment, test, and make changes without the risk of affecting your live site. This isolated environment allows you to explore new plugins, themes, and updates, ensuring that everything runs smoothly before pushing changes to your audience.
Here are some key advantages of using a staging site:
- Safe Testing Ground: Test new features, plugins, and updates without the fear of breaking your live site.
- Quality Assurance: Ensure that any changes you make won’t negatively impact the user experience.
- Easy Rollback: If something goes wrong, quickly revert to the previous version without any hassle.
- Performance Checks: Assess how changes affect site speed and performance in a controlled environment.
Moreover, a staging site serves as an excellent platform for collaboration. If you’re working with a team or hiring a developer, a staging site allows everyone to review changes and provide feedback before anything goes live. This collaborative approach reduces the chances of miscommunication and leads to a more polished final product.
Another aspect worth mentioning is that a staging site can help you maintain a professional image. Regularly updating your site is crucial, but if updates cause issues, your visitors may lose trust. By using a staging site, you can ensure that every update is seamless, keeping your website’s reputation intact.
Setting up a staging site can also be a straightforward process. Many hosting providers offer one-click solutions to create a staging environment. Alternatively, there are numerous plugins available that simplify the setup and management of a staging site. With just a few clicks, you can be on your way to a more efficient and secure WordPress experience.
Choosing the Right Hosting Provider for Your Staging Environment
When it comes to setting up a WordPress staging site, the choice of hosting provider can make all the difference. A reliable hosting provider not only impacts the performance of your staging environment but also influences your overall development workflow. Here are some key factors to consider when choosing your hosting provider:
- Performance: Your staging site should mirror your live site as closely as possible. Look for providers that offer high-speed servers with solid-state drives (SSDs) to ensure your staging environment runs swiftly.
- Ease of Use: Opt for a hosting provider with a user-friendly dashboard and one-click staging setup options. This allows you to create and manage your staging site without any technical hassle.
- Backup Solutions: Regular backups are essential. Choose a provider that includes automatic backups, allowing you to restore your staging site easily if something goes wrong.
- Support: Responsive customer support is crucial, especially if you run into issues. Seek out providers known for their excellent support, including 24/7 assistance.
- Scalability: As your site grows, your needs may change. Ensure the hosting provider can accommodate increased traffic and resource demands without compromising performance.
Many providers offer specialized WordPress hosting plans that are optimized for staging sites. Here’s a simple comparison of some popular options:
| Hosting Provider | Performance | Staging Features | Support |
|---|---|---|---|
| SiteGround | Fast SSDs | One-click Staging | 24/7 Live Chat |
| Bluehost | Reliable Uptime | Easy Staging Setup | 24/7 Support |
| WP Engine | Optimized for WordPress | Multiple Environments | Expert Support |
Ultimately, the right hosting provider should align with your specific needs and budget. By making an informed decision, you can create a staging environment that not only enhances your development process but also contributes to the overall success of your WordPress site. Remember, investing in quality hosting is investing in your site’s future.
Exploring Different Methods to Create a Staging Site
Creating a staging site for your WordPress installation is an essential step in managing your website effectively. There are several methods to set up a staging site, each catering to different levels of expertise and specific requirements. Let’s delve into some popular approaches you can consider.
1. Using a WordPress Staging Plugin
One of the simplest ways to create a staging site is through the use of WordPress staging plugins. These tools streamline the process and often come with user-friendly interfaces. Some notable plugins include:
- WP Staging – Offers a quick copy of your site for testing.
- Duplicator – Great for moving sites between environments.
- SitePush – Provides easy synchronization between staging and live sites.
Simply install your chosen plugin, follow the prompts, and you’ll have a staging site in no time.
2. Manual Staging Site Creation
If you prefer hands-on control, you can manually create your staging site. This method requires a bit of technical know-how, but it allows for greater customization. Here’s a basic outline:
- Create a subdomain (e.g.,
staging.yourwebsite.com). - Copy all files from your live site to the subdomain.
- Duplicate your database and import it to a new database for the staging site.
- Update the
wp-config.phpfile with the new database details.
This method is particularly useful for developers who want to test changes without relying on plugins.
3. Using Your Hosting Provider’s Tools
Many web hosting providers now offer built-in tools for creating staging environments. This option is often the most hassle-free, as providers like Bluehost, SiteGround, and WP Engine have streamlined processes. Here’s what you typically need to do:
- Log into your hosting account.
- Navigate to the staging tools section.
- Click on “Create Staging Site” and follow the prompts.
This method can save you time and ensure that your staging site is set up correctly without the need for additional plugins or manual configurations.
Comparison Table of Staging Methods
| Method | Ease of Use | Control Level | Cost |
|---|---|---|---|
| Staging Plugin | Very Easy | Low | Free/Premium |
| Manual Creation | Moderate | High | Free |
| Hosting Tools | Easy | Moderate | Included in Hosting |
Choosing the right method depends on your technical comfort level and how much control you want over the staging process. Whether you opt for a plugin, manual setup, or your host’s tools, having a staging site will empower you to manage your WordPress site more effectively.
Step-by-Step Guide to Setting Up a Staging Site Manually
Setting up a staging site manually can seem daunting, but with a few clear steps, you’ll have a safe space to test changes before going live. This process allows you to experiment with themes, plugins, and customizations without risking your live site’s integrity.
To begin, you’ll need to create a subdomain for your staging site. This is often done through your hosting provider’s control panel. Here are some steps to follow:
- Log in to your hosting account.
- Navigate to the Domains or Subdomains section.
- Create a new subdomain, such as staging.yourwebsite.com.
Once your subdomain is set up, the next step is to install a fresh copy of WordPress. This can typically be done with the one-click installer provided by your hosting service. After installation, remember to:
- Access your new subdomain’s admin area at staging.yourwebsite.com/wp-admin.
- Set your site title and tagline in the General Settings.
- Adjust your permalink structure to match your live site for consistency.
Now it’s time to clone your live site’s content to the staging environment. This can usually be accomplished using plugins like Duplicator or All-in-One WP Migration. Here’s how you can do it:
- Install your chosen plugin on your live site.
- Follow the plugin instructions to create a backup of your site.
- Transfer the backup files to your staging site using FTP or through the plugin’s restore feature.
After everything is in place, it’s essential to update your staging site’s settings to avoid confusion and potential issues. For instance:
| Setting | Recommended Action |
|---|---|
| Site URL | Ensure it points to your staging subdomain. |
| Search Engine Visibility | Check “Discourage search engines from indexing this site.” |
| Plugins & Themes | Install necessary plugins and themes for your tests. |
With your staging site fully set up, you can now safely test changes before applying them to your live site. Enjoy the freedom to experiment, without the stress of affecting your visitors!

Using Plugins to Simplify Your Staging Site Creation
Creating a staging site in WordPress can seem daunting, but with the right plugins, the process becomes not only straightforward but also enjoyable. These tools can take the hassle out of duplicating your site, allowing you to focus on what really matters—testing and improving your website’s functionality and design.
Utilizing plugins specifically designed for staging site creation can significantly reduce the time and effort required. Here are some highly recommended plugins:
- WP Staging: This plugin allows you to create a clone of your site with just a few clicks. It’s user-friendly and works seamlessly, making it ideal for beginners.
- Duplicator: Perfect for migrating and cloning your WordPress site, Duplicator enables you to set up a staging environment without the technical headaches.
- SitePush: A powerful tool that not only helps create staging sites but also allows you to push changes to your live site effortlessly.
Most of these plugins come with intuitive interfaces that guide you through the setup process. For example, WP Staging presents a simple wizard that helps you clone your existing site into a staging environment. Once set up, you can make changes and conduct tests without affecting your live site. This means you can experiment freely, knowing that your primary website remains intact while you work behind the scenes.
Let’s look at a quick comparison of some features offered by these plugins:
| Plugin Name | Ease of Use | Live Site Updates | Free Version Available |
|---|---|---|---|
| WP Staging | ⭐️⭐️⭐️⭐️⭐️ | Yes | Yes |
| Duplicator | ⭐️⭐️⭐️⭐️ | Yes | Yes |
| SitePush | ⭐️⭐️⭐️⭐️⭐️ | No | No |
Ultimately, choosing the right plugin depends on your specific needs and level of comfort with WordPress. Regardless of your choice, these tools will help streamline the staging site creation process, making it a breeze to test new features, troubleshoot issues, or even redesign your site. With the right plugin in hand, you’ll find that managing your WordPress site becomes less about technical challenges and more about unleashing your creativity.
Testing Changes Safely: Best Practices for Use of Your Staging Site
Once you have your staging site set up, the next step is understanding how to test changes safely and effectively. A staging site is a vital tool for any WordPress user, whether you’re a seasoned developer or a beginner. It allows you to experiment with new themes, plugins, and updates without affecting your live site.
To make the most of your staging environment, consider the following best practices:
- Backup Your Data: Before making any changes, always back up your staging site. This ensures that you can revert back to a previous version if something goes wrong during testing.
- Test Updates Thoroughly: Always update plugins and themes on your staging site first. Check for compatibility issues or unexpected changes that may impact the functionality of your site.
- Document Changes: Keep a record of what you modify or test. This helps you track what works and what doesn’t, making it easier to implement changes on your live site later.
- Simulate User Experience: Test your changes as if you were a visitor. Check navigation, forms, and any interactive elements to ensure everything functions as intended.
Furthermore, consider using a structured approach when testing. You can create a simple checklist to ensure you cover all essential areas:
| Testing Area | Checklist |
|---|---|
| Functionality | Ensure all links and forms work correctly. |
| Design | Check for visual consistency across different devices. |
| Performance | Run speed tests to ensure no slowdowns occur. |
| Security | Verify all security settings and plugins are functioning. |
once you are satisfied with your testing, you can confidently push your changes to the live site. Remember, gradual implementation is key. Consider rolling out changes in phases to monitor how they perform in a live environment. This cautious approach minimizes disruption and enhances the overall user experience.
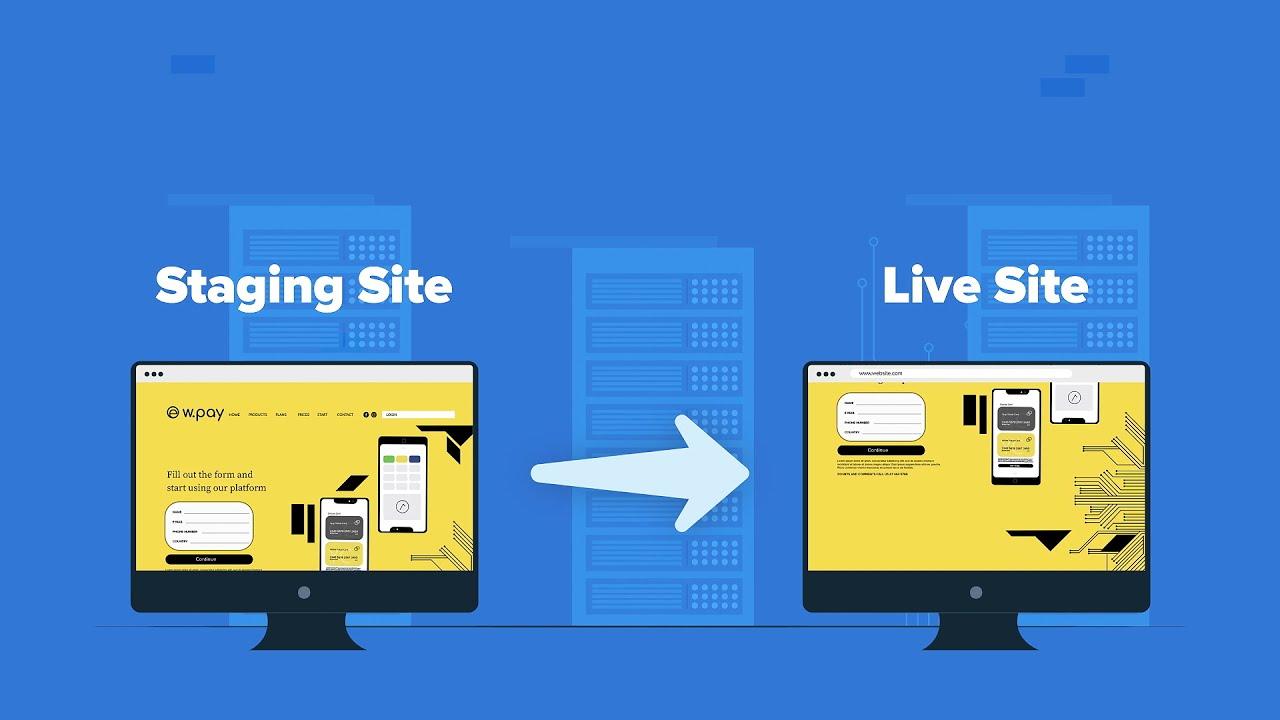
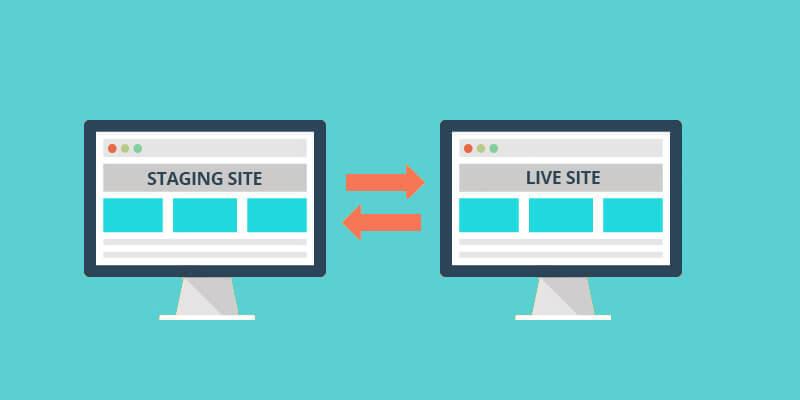
Moving from Staging to Live: How to Push Changes Seamlessly
When you’re ready to transition from your staging site to the live environment, a smooth and hassle-free process is essential. Here’s how you can ensure that your updates are implemented without a hitch.
First, back up your live site. Before making any changes, it’s a good practice to create a complete backup of your current live site. This way, if anything goes wrong during the transfer, you can easily revert to the original state. Use reliable backup plugins like:
- UpdraftPlus: Offers cloud storage options
- BackupBuddy: A premium solution with extensive features
- Duplicator: Great for site migration
Next, compare your staging site with the live version. This step helps you pinpoint changes that need to be implemented. Focus on:
- Theme modifications
- Plugin updates
- Content additions or deletions
- SEO settings
Once you have your changes ready, it’s time to push them live. Depending on your hosting environment, this could be as simple as:
- Using a built-in migration tool provided by your host
- Manually uploading files via FTP
- Utilizing a deployment plugin
After pushing the changes, always conduct a thorough post-deployment check. This ensures everything is working as expected. Here’s a quick checklist:
| Task | Status |
|---|---|
| Check website load speed | ✔️ |
| Test key functionalities | ✔️ |
| Review mobile responsiveness | ✔️ |
| Inspect for broken links | ✔️ |
By following these steps, you can ensure a seamless transition from your staging site to the live environment, allowing you to focus on what matters most—enhancing your website’s performance and user experience!
Troubleshooting Common Issues in Your Staging Site
Setting up a staging site is a great way to ensure your live website remains intact while you experiment with new features or designs. However, even the best-laid plans can hit some bumps in the road. Here are a few common issues you might encounter and how to resolve them.
One frequent issue is that changes made in the staging environment don’t appear on the live site as expected. This can often stem from caching problems. Here’s how to tackle this:
- Clear your cache: Both your browser cache and any caching plugins on your WordPress site need to be cleared to see the latest changes.
- Check your CDN: If you’re using a Content Delivery Network (CDN), ensure it’s purged of old cached files.
Another common problem is the discrepancy between the staging and live site database. If you find that your staging site isn’t mirroring your live site accurately, consider these steps:
- Database synchronization: Make sure you regularly synchronize your databases to keep them updated.
- Search and replace: Use a plugin or command line tool to ensure that URLs and paths are correct in your staging environment.
Sometimes, users experience plugin compatibility issues that can disrupt functionality on the staging site. To address this:
- Deactivate plugins: Temporarily deactivate plugins one by one to identify any conflicts.
- Update plugins: Ensure all plugins are updated to their latest versions to avoid incompatibility.
If you encounter issues with your site’s appearance, such as broken layouts or missing styles, it’s likely due to theme-related problems. Here’s how to troubleshoot:
- Check theme settings: Sometimes, settings may not carry over properly; review your theme configuration.
- Inspect for custom CSS: Ensure any custom CSS has been correctly transferred to your staging site.
while troubleshooting your staging site can feel daunting, most issues can be resolved with a bit of patience and a systematic approach. By addressing caching, database synchronization, plugin compatibility, and theme settings, you can create a smooth testing ground for your new ideas and updates.
Maintaining Your Staging Site: Regular Updates and Backups
To ensure your staging site remains effective and secure, it’s crucial to implement a routine for updates and backups. Regular updates keep your site running smoothly and protect it from vulnerabilities. Here are some key areas to focus on:
- WordPress Core Updates: Always keep your WordPress core updated to the latest version. This not only enhances performance but also fixes security issues.
- Plugin and Theme Updates: Regularly check for updates to plugins and themes. Outdated plugins can be a major security risk.
- Database Optimization: Periodically optimize your database to enhance site speed and performance. Tools like WP-Optimize can help maintain a clean database.
Backing up your staging site is just as important as keeping it updated. Regular backups protect you from data loss due to server crashes, hacks, or accidental changes. Consider the following options for effective backups:
- Automated Backup Solutions: Use plugins like UpdraftPlus or BackupBuddy to schedule automatic backups, ensuring you always have the latest version of your site.
- Off-Site Storage: Store backups in multiple locations, such as cloud storage services (Google Drive, Dropbox) or external hard drives, for added security.
To help you visualize your backup and update routine, here’s a simple table that outlines a recommended schedule:
| Task | Frequency | Notes |
|---|---|---|
| WordPress Core Update | As needed | Check every month for major updates |
| Plugin/Theme Updates | Weekly | Review and apply updates each week |
| Database Optimization | Monthly | Use a plugin to perform the task |
| Full Site Backup | Weekly | Automate with a plugin |
By maintaining a consistent schedule for updates and backups, you’ll safeguard your staging site against potential threats and ensure a seamless workflow. Remember, prevention is always better than cure when it comes to website management!
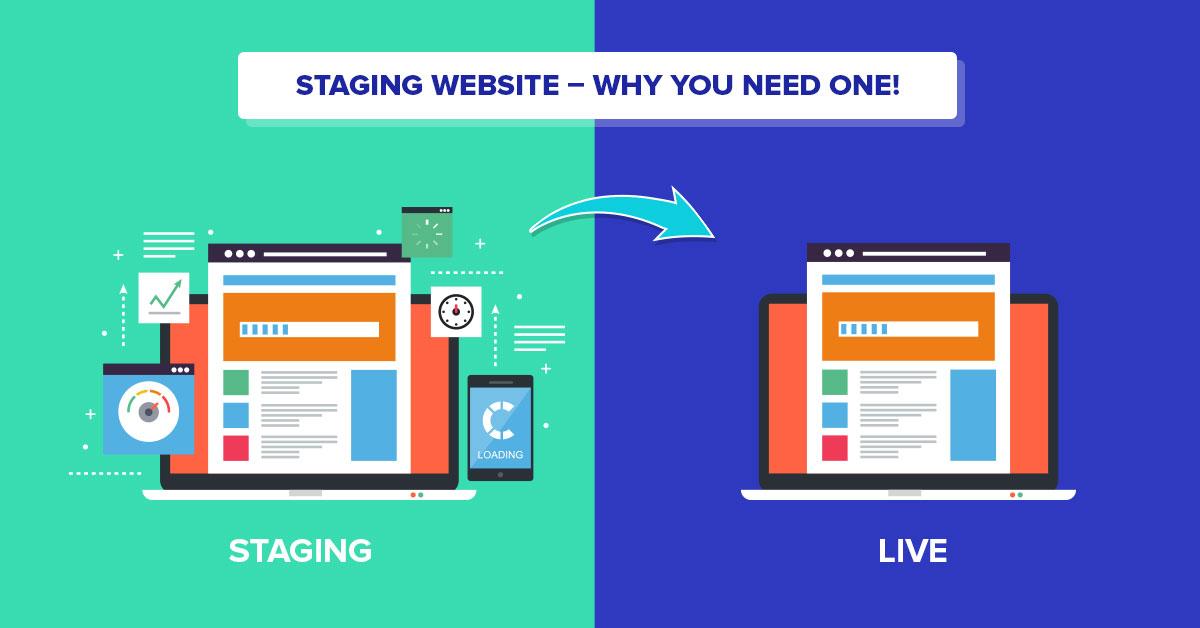
Embracing the Benefits: Why a Staging Site is Key for Your Success
Setting up a staging site is one of the smartest moves you can make for your WordPress website. By creating a separate environment to test your changes, you eliminate the risk of breaking your live site. Imagine the peace of mind knowing that you can experiment with new designs, plugins, or updates without any fear of negatively impacting your visitors’ experience.
The advantages of having a staging site are numerous and can significantly enhance your workflow:
- Safe Testing Environment: Experiment freely without the worry of affecting your live site.
- Improved Quality Control: Identify and fix issues before they go public.
- Efficient Collaboration: Share the staging site with team members or clients for feedback and approvals.
- Streamlined Updates: Make sure updates play nicely with existing features before going live.
Moreover, a staging site allows you to implement and test new features seamlessly. Whether you’re adding a new plugin or adjusting your theme, you can see how those changes will look and behave in a controlled setting. This way, you can ensure your site remains user-friendly and visually appealing, which is vital for retaining visitors and driving conversions.
If you’re concerned about the technical aspects of setting up a staging site, don’t be! Many web hosting providers now offer one-click staging solutions. Here’s a quick comparison of popular WordPress hosting services that provide staging features:
| Hosting Provider | Staging Feature | Ease of Use |
|---|---|---|
| SiteGround | One-click staging | Very Easy |
| Bluehost | Built-in staging tools | Moderate |
| Kinsta | Automatic staging environments | Extremely Easy |
investing time in establishing a staging site is not just a precaution; it’s a vital component of your website management strategy. By embracing this practice, you’ll be paving the way for a smoother, more professional online presence. So why wait? Start setting up your staging site today and unlock the full potential of your WordPress journey!
Frequently Asked Questions (FAQ)
Beginner’s Guide: How to Set Up a WordPress Staging Site
Q&A
Q1: What is a WordPress staging site and why do I need one?
A: Great question! A WordPress staging site is essentially a clone of your live website where you can test changes, updates, and new features without affecting your actual site. Imagine having a safe playground where you can experiment! It’s crucial because it helps you catch issues before they go live, ensuring a smooth experience for your visitors. Plus, it gives you the confidence to try new things!
Q2: Is setting up a staging site difficult?
A: Not at all! While it might sound intimidating, setting up a staging site can be quite simple, especially with the right tools. Many hosting providers offer one-click staging setups, and there are also user-friendly plugins available. With just a bit of guidance, you’ll have your staging site up and running in no time!
Q3: Do I need special hosting to create a staging site?
A: While some hosting providers have built-in tools for staging, you don’t necessarily need special hosting. However, using a host that supports staging sites can simplify the process significantly. If your current host doesn’t offer this feature, plugins can easily bridge the gap. You’ll find plenty of options that suit your needs!
Q4: What are the steps to set up a staging site?
A: Setting up a staging site generally involves these steps:
- Choose your method: Decide between using your hosting provider’s built-in tool or a plugin.
- Create the staging site: Follow the prompts to clone your live site.
- Test your changes: Make any updates, add new plugins, or tweak designs on the staging site.
- Push changes live: Once you’re happy with everything, you can easily migrate your changes to the live site. Simple, right?
Q5: Can I use my staging site for anything else?
A: Absolutely! Think of your staging site as a testing ground. You can use it for various purposes, like checking compatibility with new plugins, experimenting with design changes, or even troubleshooting issues. It’s a versatile tool that can help you maintain a healthy and robust website.
Q6: Will my visitors see changes I make on the staging site?
A: No way! Changes made on your staging site are separate from your live site. This means you can make all the adjustments you want without your visitors being any the wiser! Your live site remains untouched until you decide to make those changes permanent.
Q7: How do I ensure my staging site is secure?
A: Security is essential, even on a staging site. Make sure to password-protect it, especially if it’s accessible online. Regular updates and backups are also key to keeping both your staging and live sites secure. Don’t forget, safety first!
Q8: What if something goes wrong after pushing changes live?
A: That’s where your staging site shines! If an issue arises after pushing changes, you can quickly revert back to the last working version of your site. Plus, regular backups can save the day. This safety net gives you peace of mind to experiment and innovate.
Q9: How often should I use my staging site?
A: You should use your staging site whenever you’re planning to make significant changes, whether that’s updating themes, adding new plugins, or revamping content. Think of it as a best practice. Frequent testing helps you stay ahead of any potential issues!
Q10: Ready to get started?
A: Absolutely! Setting up a staging site is a game-changer for your WordPress experience. It empowers you to make informed decisions, reduces the risk of errors, and ultimately enhances your website’s performance. So, why wait? Dive in, and let your creativity flow without fear!
Setting up a staging site is an investment in the health and success of your website. With the right approach, you can turn this knowledge into action and elevate your WordPress game to the next level!
To Conclude
And there you have it! Setting up a WordPress staging site doesn’t have to be a daunting task. With just a few simple steps, you can create a safe space to experiment, test new features, and perfect your website without the fear of making a mess of your live site.
Remember, a staging site is not just a luxury; it’s a crucial tool for anyone serious about maintaining a professional online presence. So, whether you’re tweaking your website’s design, trying out new plugins, or preparing for a big launch, having a staging environment can save you time, stress, and potential headaches down the road.
Now that you’re armed with this knowledge, why not take the plunge? Start setting up your staging site today, and enjoy the peace of mind that comes with knowing your live site is safe while you unleash your creativity. Happy experimenting, and may your website journey be a smooth one!