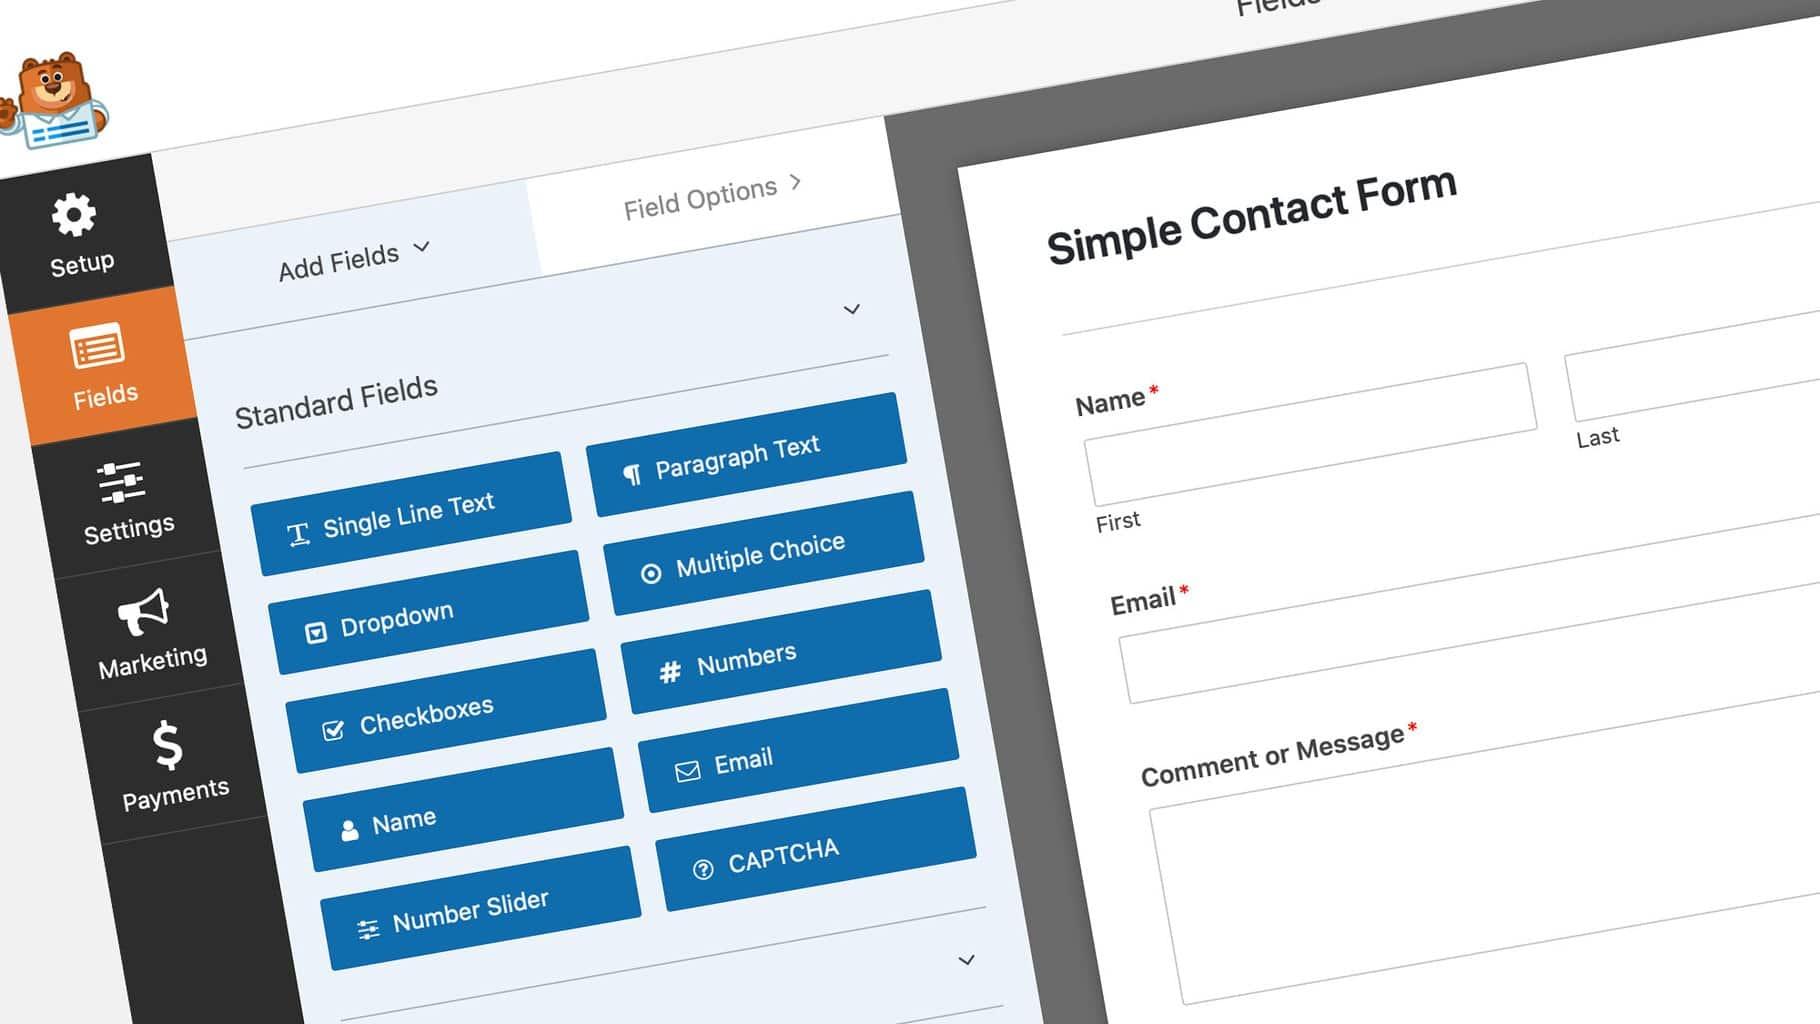
Are you ready to take your WordPress website to the next level? Whether you’re running a blog, a business site, or an online store, having the ability to create custom forms can significantly enhance user engagement and streamline communication with your audience. Enter Ninja Forms: the powerful, user-friendly plugin that makes form building a breeze! In our latest course, “How to Create Custom Forms in WordPress with Ninja Forms,” we’ll guide you step-by-step through the process of designing forms that not only look great but also meet your specific needs. Imagine capturing leads, gathering feedback, or even processing orders with ease—all while maintaining a seamless user experience. With our practical tips and hands-on approach, you’ll be equipped to turn your ideas into functional forms in no time. So, why wait? Let’s dive in and unlock the full potential of your WordPress site together!
Unlock the Power of Custom Forms in WordPress with Ninja Forms
Are you ready to take your WordPress site to the next level? With the right tools, you can transform your website into a powerful hub for engagement, feedback, and data collection. Custom forms are essential in achieving this, and Ninja Forms is one of the best plugins to help you design them effortlessly. Imagine having the ability to gather user information, run surveys, or even process payments—all with a few clicks!
What makes Ninja Forms stand out? Here are some of its remarkable features:
- Drag-and-Drop Builder: Easily create forms without any coding knowledge.
- Customizable Templates: Choose from a variety of pre-designed templates that suit your needs.
- Integration Capabilities: Connect with popular services like Mailchimp, PayPal, and more to streamline your processes.
- Conditional Logic: Show or hide fields based on user selections, making the experience intuitive.
- Responsive Design: Ensure your forms look great on any device, enhancing user experience.
Moreover, Ninja Forms offers extensive documentation and support, so you won’t feel lost at any stage of your form creation journey. Whether you want to set up a simple contact form or a complex multi-step survey, Ninja Forms has got you covered. You’ll appreciate the user-friendly interface that empowers you to focus on creativity without getting bogged down by technical details.
To give you an idea of how straightforward it is to get started, here’s a quick comparison of Ninja Forms with other popular form plugins:
| Feature | Ninja Forms | Other Plugins |
|---|---|---|
| Ease of Use | ✔️ Drag-and-drop interface | 🛑 Often requires coding |
| Customization | ✔️ Highly customizable | 🛑 Limited options |
| Integrations | ✔️ Extensive integrations | 🛑 Fewer integrations |
Ready to harness the full potential of custom forms? Dive into our new course to learn everything you need to know about creating stunning forms with Ninja Forms in WordPress. From installation to advanced techniques, you’ll gain the skills to engage your audience effectively and collect valuable data. It’s time to elevate your WordPress site with forms that truly resonate with your users!
Discover the User-Friendly Interface of Ninja Forms
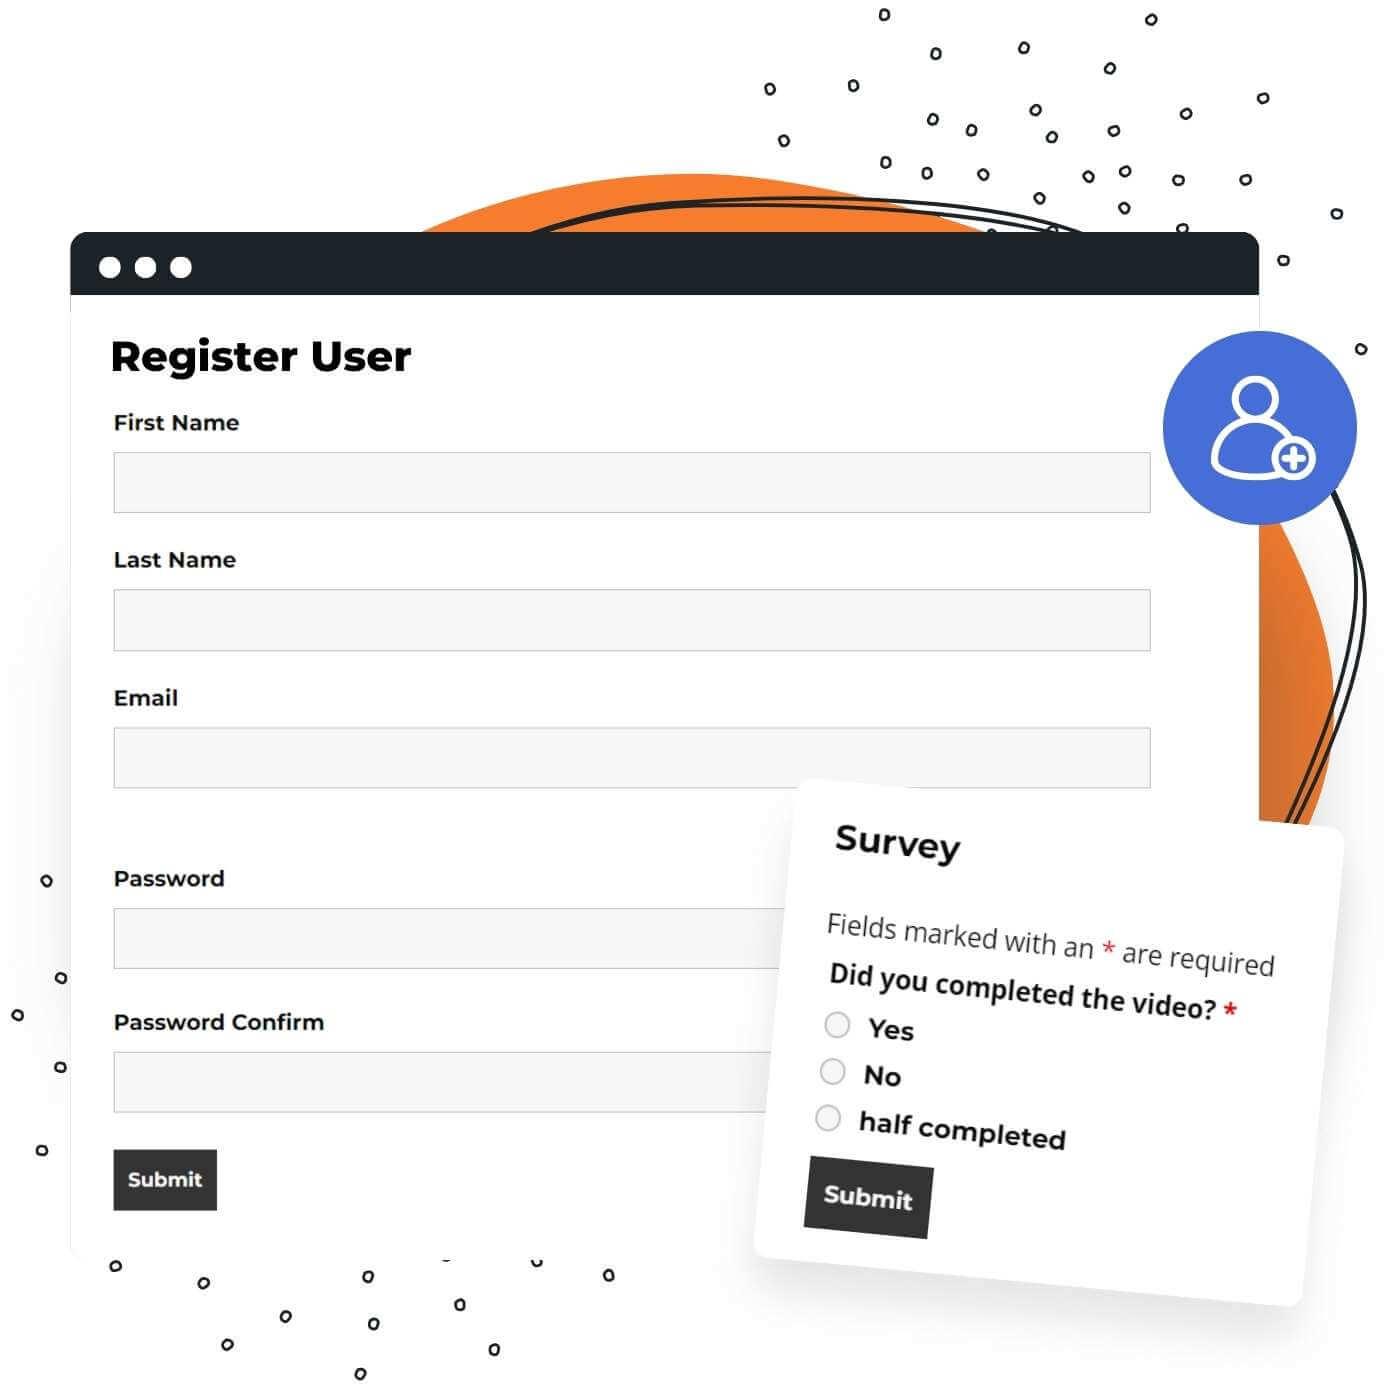
Ninja Forms stands out as one of the most intuitive form-building solutions for WordPress users. The interface is designed with simplicity in mind, making it accessible for beginners while still offering advanced features for seasoned developers. With just a few clicks, you can create beautiful forms that not only enhance your website but also improve user engagement.
The drag-and-drop functionality is one of the key highlights of Ninja Forms. You can easily add fields to your form by dragging them into place, allowing for a seamless creation process. Whether you need a simple contact form or a multi-step registration form, the interface makes it effortless to customize your design to fit your needs. Here are some key features:
- Field Types: Choose from a variety of field types, including text fields, checkboxes, radio buttons, and file uploads.
- Real-Time Preview: See changes in real-time as you configure your form, ensuring you get the design just right.
- Conditional Logic: Set up rules to show or hide fields based on user selections, creating a dynamic user experience.
Furthermore, the interface is equipped with a robust settings panel, allowing you to manage notifications, confirmations, and integrations with other platforms. You can easily set up email notifications that are triggered upon form submissions, ensuring you never miss a lead. Plus, integrating with services like Mailchimp or PayPal is just a few clicks away.
To illustrate the ease of use, here’s a simple comparison of traditional form-building methods versus Ninja Forms:
| Traditional Methods | Ninja Forms |
|---|---|
| Complex coding required | Drag-and-drop interface |
| Limited field options | Multiple field types available |
| Time-consuming setup | Quick and intuitive configuration |
With Ninja Forms, you can focus on what really matters—creating effective forms that drive results. The user-friendly interface not only saves you time but also empowers you to experiment and innovate without getting bogged down in technical details.
Step-by-Step Guide to Building Your First Custom Form
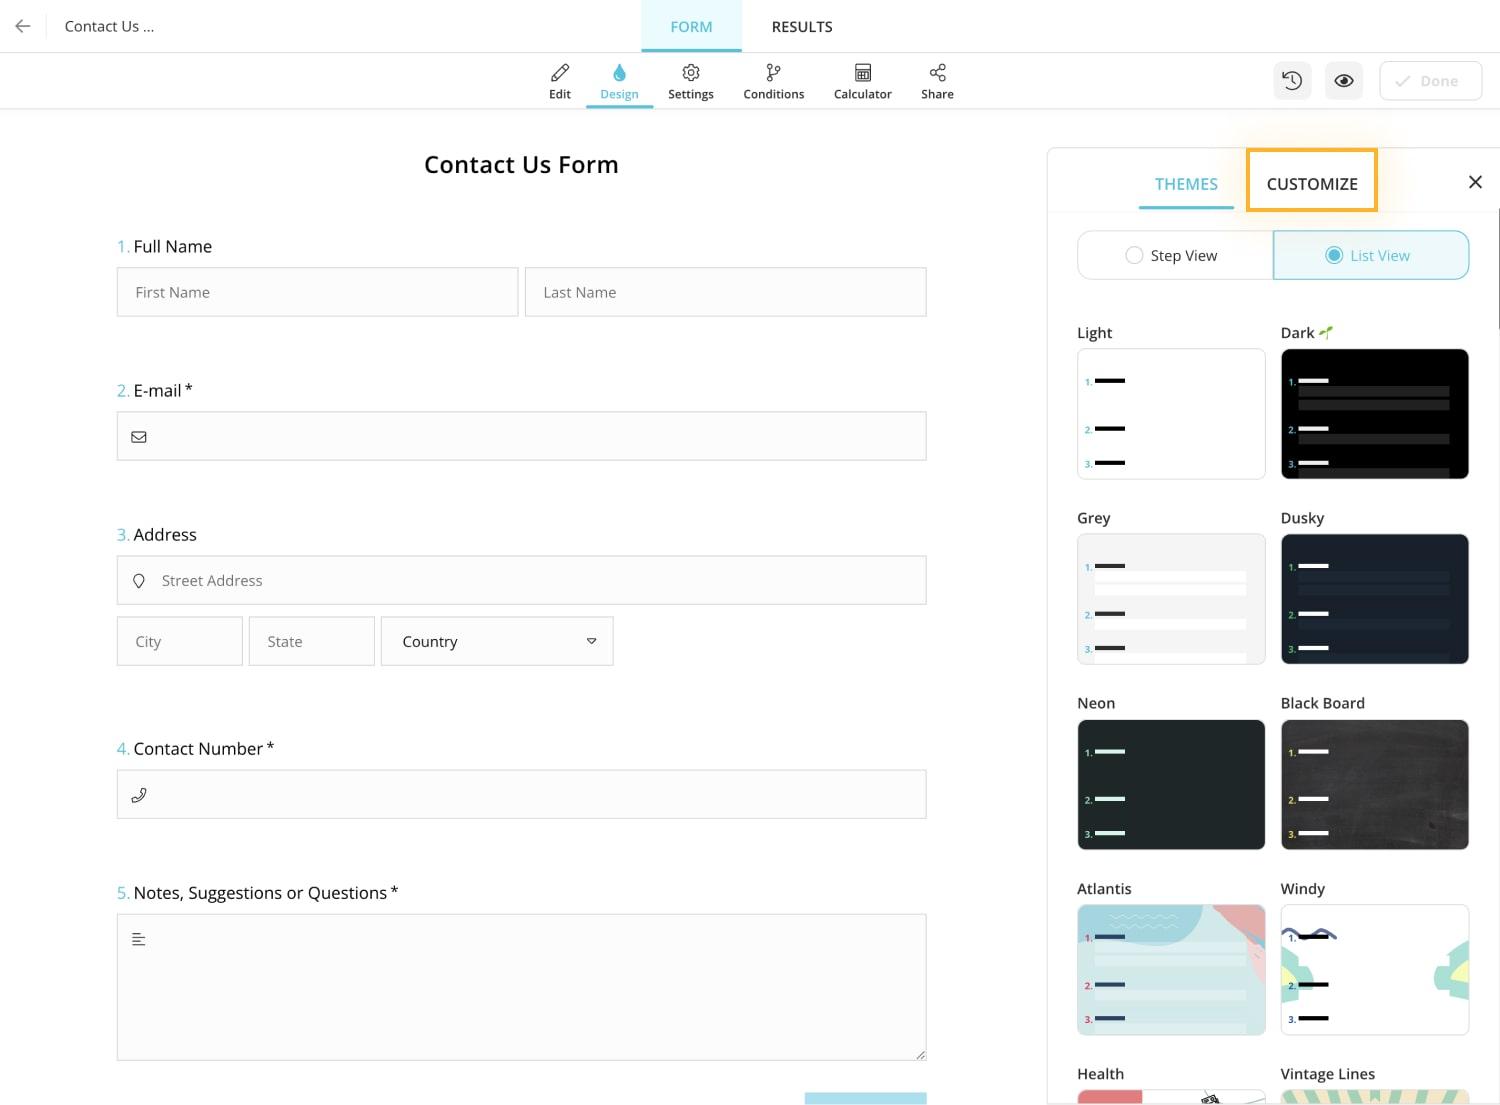
Creating your first custom form in WordPress is an exciting journey! With Ninja Forms, you can effortlessly design a form that meets your specific needs. Let’s dive into the process and get your form up and running in no time.
Understanding the Basics
Before you start building, familiarize yourself with the Ninja Forms interface. Here’s what to keep in mind:
- Drag-and-Drop Functionality: Easily move fields around to create a layout that works for you.
- Field Types: Choose from a variety of field options such as text, email, checkboxes, and more.
- Templates: Consider starting with a pre-built template to save time and customize from there.
Building Your Form
Now, let’s get started on actually building the form:
- Create a New Form: In your WordPress dashboard, navigate to Ninja Forms and click on “Add New.”
- Choose Your Fields: Select the fields you want to include from the sidebar and drag them onto your form.
- Customize Field Options: Click on each field to modify settings such as labels, placeholder text, and validation rules.
Styling Your Form
A custom form isn’t just about functionality; it should also look great! Here are some tips:
- Adjust Colors: Use the styling settings to match the form’s colors with your website’s theme.
- Font Choices: Select fonts that are easy to read and align with your branding.
- Spacing: Ensure there’s adequate padding between fields to enhance user experience.
Testing and Publishing
Once your form looks good, it’s time to test and publish:
- Preview the Form: Use the preview option to see how your form will look to users.
- Test Submissions: Fill out the form and ensure that all submissions are received correctly.
- Publish: When you’re happy with everything, click the “Publish” button to make it live on your site.
Bonus: Common Issues and Solutions
| Issue | Solution |
|---|---|
| Form Not Sending Emails | Check your email settings and ensure your server allows email sending. |
| Fields Not Saving | Ensure you have the latest version of Ninja Forms and WordPress. |
| Styling Issues | Clear your browser cache or check for conflicts with your theme. |
Advanced Features to Enhance Your Forms and Collect Valuable Data
When it comes to collecting data through forms, having advanced features at your disposal can significantly improve the quality and quantity of information you gather. With Ninja Forms in WordPress, you can easily integrate these features to create a seamless experience for your users while ensuring that you collect valuable insights for your business or project.
Conditional Logic is one of the standout features that allows you to show or hide fields based on previous answers. This means you can tailor the form experience to each user, making it more relevant and engaging. For example, if a user selects “Yes” to a question about needing assistance, you can dynamically display additional questions that dive deeper into their needs, ensuring a more personalized interaction.
Multi-Part Forms break down long forms into smaller, manageable sections, reducing user fatigue and abandonment rates. Instead of overwhelming visitors with a lengthy questionnaire, you can guide them through a smooth, step-by-step process. This not only improves user experience but also increases the likelihood of submissions, as users are more inclined to complete a shorter section than a daunting, single-page form.
Integrating Payment Processing into your forms can open new avenues for data collection while generating revenue. Whether you are selling products, booking services, or charging for event registrations, Ninja Forms provides options to accept payments through popular gateways like PayPal and Stripe. This feature not only streamlines transactions but also collects essential customer data that can be valuable for future marketing efforts.
Customizable Notifications and Confirmation Messages are another powerful aspect of Ninja Forms. You can set up automated emails that confirm receipt of form submissions, notify users of next steps, or even thank them for their input. Tailoring these messages can enhance user engagement and encourage them to return for future interactions.
| Feature | Description |
|---|---|
| Conditional Logic | Show/hide fields based on user responses for a tailored experience. |
| Multi-Part Forms | Break long forms into smaller segments to enhance completion rates. |
| Payment Processing | Accept payments through forms while collecting customer data. |
| Custom Notifications | Automated emails to confirm submissions and thank users. |
By utilizing these advanced features, you can turn your forms into powerful tools that not only gather data but also enhance user experience. The insights you collect will be more meaningful and actionable, allowing you to make informed decisions that drive your success.
Tips for Improving User Experience with Form Design
Enhancing User Experience Through Effective Form Design
Creating forms that not only capture user data but also provide a positive experience is essential. Here are some practical tips to elevate your form design:
- Keep it Simple: Reduce the number of fields to only what is necessary. Users appreciate brevity and clarity.
- Logical Flow: Arrange fields in a logical order. Group related questions together to guide users naturally through the form.
- Clear Labels: Use straightforward and descriptive labels for each field. This minimizes confusion and enhances completion rates.
- Visual Hierarchy: Utilize size, color, and spacing effectively to highlight important elements. Users should easily identify where to click or type.
To further improve your form’s usability, consider these design practices:
- Real-Time Validation: Implement instant feedback on user inputs to prevent errors. This not only saves time but builds user confidence.
- Accessible Design: Ensure your forms are accessible to all users. Use proper labels and ARIA attributes to help screen readers interpret your forms correctly.
- Mobile Optimization: With many users accessing forms via mobile devices, design forms that are responsive and easy to fill out on smaller screens.
Here’s a simple comparison of form styles to consider:
| Form Style | Advantages | Disadvantages |
|---|---|---|
| Single Column | Simple layout, easy to follow. | Can be lengthy on mobile devices. |
| Multi-Step | Reduces perceived length, less daunting. | Might confuse users or lead to drop-offs. |
| Inline Validation | Immediate feedback, reduced errors. | Can be overwhelming if too frequent. |
Remember, the ultimate goal is to make the form-filling experience as seamless as possible. By focusing on user-centric design principles, you can create forms that not only capture data but also enhance user satisfaction and engagement.
Integrating Ninja Forms with Popular WordPress Plugins
Ninja Forms is not just a powerful tool for creating custom forms in WordPress; it also plays exceptionally well with a multitude of popular plugins that can enhance your site’s functionality. By integrating Ninja Forms with these plugins, you can take your form-building experience to the next level, giving you access to advanced features that help you streamline processes and improve user interaction.
One of the standout integrations is with WooCommerce. By connecting Ninja Forms to WooCommerce, you can create custom order forms that collect additional information during the checkout process. This is perfect for businesses that require specific details from their customers, such as personalized requests or shipping information. Imagine a seamless checkout experience where customers can provide everything you need without any hassle!
Another popular integration is with Mailchimp. When you combine Ninja Forms with Mailchimp, you can easily build your email list by allowing users to subscribe directly through your forms. This integration not only simplifies the process for your visitors but also ensures that your marketing campaigns are targeting the right audience effectively. You can customize your forms to include various subscription options, making it easy for users to select what interests them most.
When it comes to customer relationship management, integrating Ninja Forms with Zapier can be a game-changer. Zapier allows you to connect Ninja Forms with thousands of apps, automating workflows that save you time and increase productivity. For example, you can set up Zaps that automatically send form submissions to your CRM, ensuring that no lead goes unnoticed. This level of automation means you can focus on what really matters—growing your business.
Here’s a quick comparison of some key integrations:
| Plugin | Benefits |
|---|---|
| WooCommerce | Custom order forms for enhanced checkout |
| Mailchimp | Easy email list subscription management |
| Zapier | Automated workflows with thousands of apps |
Integrating Ninja Forms with these plugins not only elevates the functionality of your WordPress site but also significantly improves user experience. Whether you’re looking to boost sales, enhance customer engagement, or automate tedious tasks, these integrations will provide you with the tools you need to succeed. Don’t miss out on the opportunity to create a more interactive and efficient website—start exploring these integrations today!
Troubleshooting Common Issues: Getting the Most Out of Your Forms
When building custom forms with Ninja Forms, it’s essential to be aware of common issues that may arise. Understanding these challenges can help you quickly troubleshoot and optimize your forms for better user experience and higher conversion rates.
Form Submission Issues: One of the most frustrating problems users encounter is related to form submissions. If your forms aren’t submitting properly, consider the following:
- Check for required fields: Ensure all mandatory fields are filled out before submission.
- JavaScript Conflicts: Conflicts with other plugins or themes can cause forms to malfunction. Test the form in a default theme or disable other plugins temporarily.
- Server Configuration: Review your server settings and ensure that your hosting provider allows for proper form processing.
Email Delivery Problems: If users are submitting forms but not receiving confirmation emails, it could be an issue with your email configuration. Here’s what to do:
- Use SMTP: Consider utilizing an SMTP plugin for reliable email delivery.
- Spam Folder: Remind users to check their spam or junk folders for email confirmations.
- Test Email Settings: Test your Ninja Forms email settings by sending a few test submissions to different email accounts.
Styling and Responsiveness: A form that looks good on all devices is crucial. If you notice styling issues, you might try:
- Custom CSS: Use custom CSS to adjust the layout and ensure it looks good on mobile and desktop views.
- Responsive Design Settings: Check the responsive design settings in Ninja Forms to make sure your form adapts well across devices.
By addressing these common issues, you can enhance the functionality of your forms and provide a seamless experience for your users. Remember, troubleshooting is an ongoing process, and regularly testing your forms is key to keeping them in top shape.
Real-Life Examples: How Businesses Thrive with Custom Forms
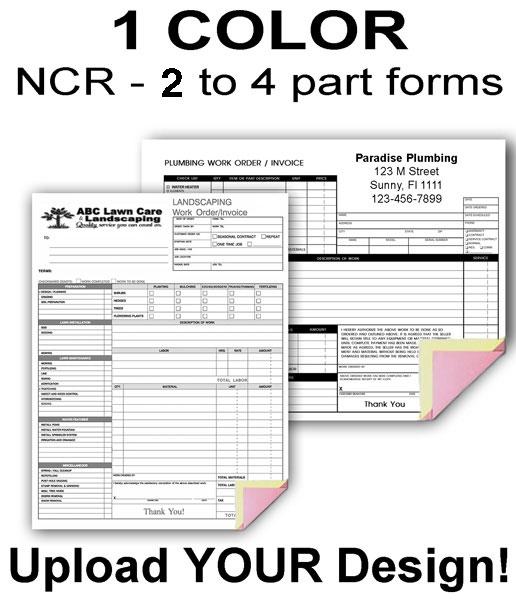
In the realm of online business, the significance of tailored forms cannot be overstated. Companies that leverage custom forms have discovered how to not only streamline their operations but also enhance customer engagement and satisfaction. For instance, a local gym utilized custom registration forms to capture specific information about its members, allowing them to provide personalized workout plans and nutrition advice. As a result, their member retention rates soared by 30% within just a few months.
Another fascinating example comes from an e-commerce store that implemented custom order forms. By including options for gift wrapping and personalized messages, they transformed a standard purchasing experience into a memorable one. This small but impactful adjustment led to a 15% increase in sales during the holiday season, proving that customization directly correlates with customer happiness and loyalty.
Non-profit organizations also benefit significantly from custom forms. A charity organization redesigned their donation form to include targeted campaigns and specific donation amounts. By categorizing donations based on projects and initiatives, they were able to raise funds for multiple causes effectively. Their fundraising efforts saw an increase of 50%, demonstrating how targeted forms can lead to impactful results.
| Business Type | Custom Form Benefits | Results |
|---|---|---|
| Local Gym | Personalized member experiences | 30% increase in retention rates |
| E-commerce Store | Gift wrapping and personalization options | 15% increase in holiday sales |
| Charity Organization | Targeted donation campaigns | 50% increase in fundraising |
Service providers have also tapped into the power of custom forms to enhance client interactions. A consulting firm created a comprehensive client intake form that allowed them to gather critical information upfront, which streamlined their onboarding process. This not only saved time but also helped them tailor their services to meet client needs more effectively, leading to higher satisfaction and repeat business.
These real-life examples demonstrate a common thread: businesses that embrace custom forms are not just responding to customer needs but are also proactively shaping their services to create meaningful experiences. By integrating Ninja Forms into their WordPress sites, these businesses have harnessed the full potential of customization, proving that when you listen to your customers, the results can be truly transformative.
Maximizing Your Forms Potential with Conditional Logic and Notifications
Unlock the full potential of your forms by incorporating conditional logic and tailored notifications. With Ninja Forms in WordPress, you can create dynamic, user-friendly experiences that engage your audience and streamline your processes.
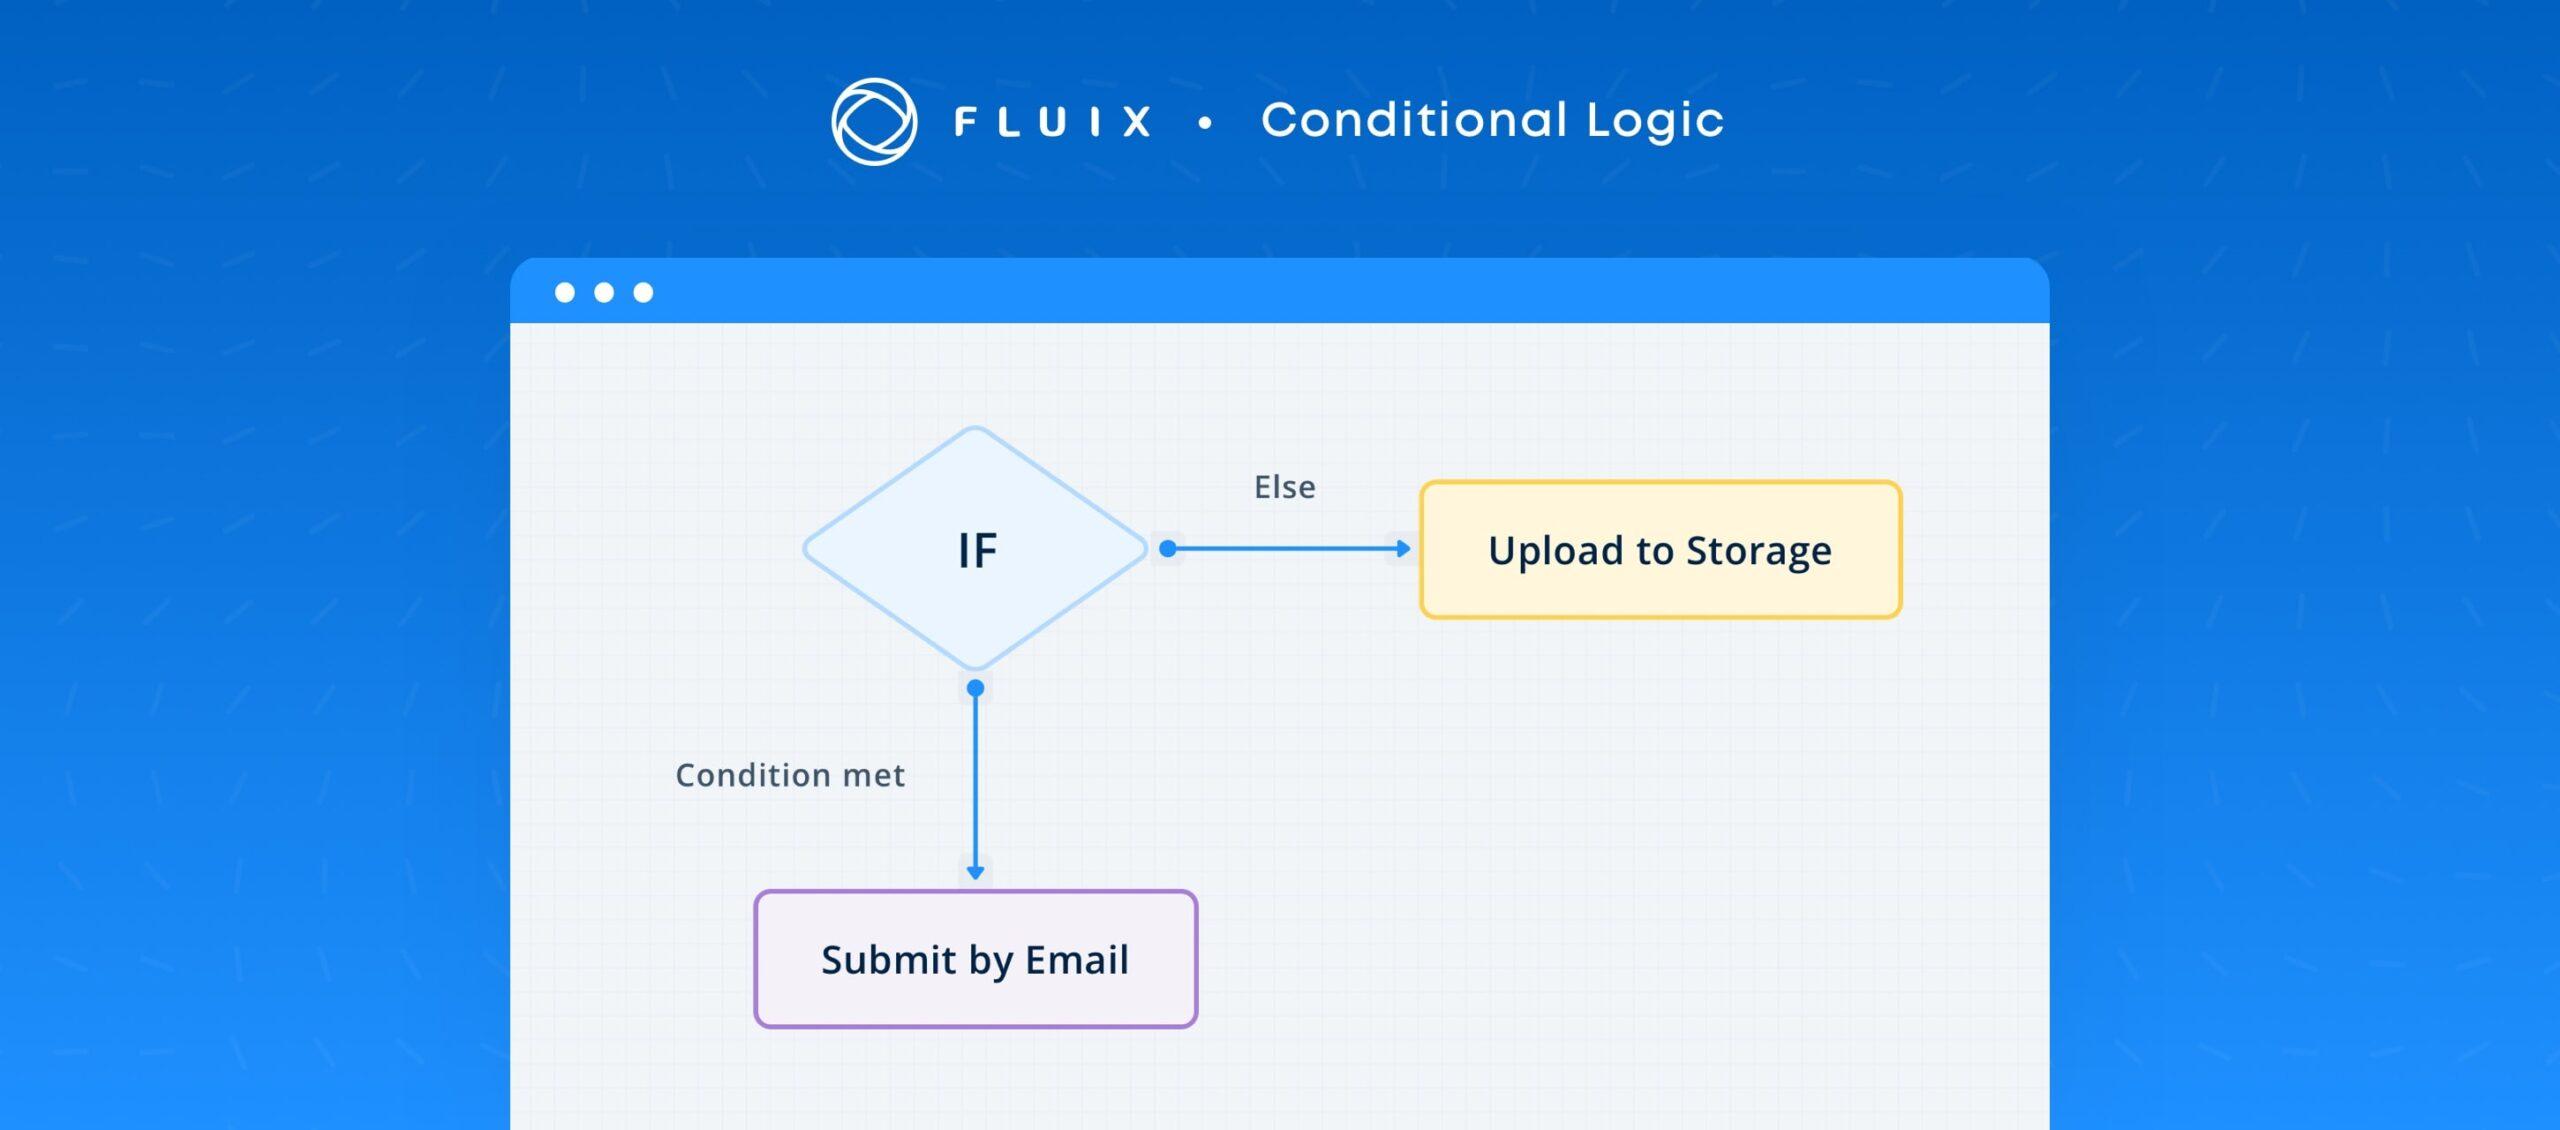
Conditional Logic is a powerful feature that allows you to show or hide fields based on user responses. Imagine guiding your users through a personalized experience, where each question leads seamlessly to the next. This not only makes the form-filling process more intuitive but also reduces the friction that often leads to drop-offs. For example:
- If a user selects “Yes” for a question, reveal an additional set of relevant fields.
- Hide irrelevant sections based on previous answers, keeping your forms clean and focused.
- Use conditional logic to tailor the content of your confirmation messages based on user input.
In addition to enhancing user experience, conditional logic can significantly improve data accuracy. By filtering the data collected, you ensure that only pertinent information is gathered, making it easier to analyze and act upon. A well-structured form can lead to more qualified leads and better overall engagement.
But don’t stop there! Notifications play a critical role in maintaining the momentum of communication. With Ninja Forms, you can set up notifications that are triggered based on user selections. This means you can:
- Send personalized thank-you messages that cater specifically to the responses received.
- Notify your team in real-time about new submissions, allowing for immediate follow-up.
- Segment your audience by creating different notification pathways, ensuring that the right message reaches the right person at the right time.
| Feature | Benefit |
|---|---|
| Conditional Logic | Streamlined user experience |
| Dynamic Notifications | Enhanced communication efficiency |
| Data Filtering | Improved data accuracy |
By mastering these features, you’re not just creating forms; you’re building a robust system for interaction that can drive engagement and conversions. Let your forms do the heavy lifting, transforming passive visitors into active participants in your business journey.
Join the Community: Resources and Support for Ninja Forms Users
As you embark on your journey to master custom forms in WordPress using Ninja Forms, it’s essential to know that you’re not alone. The community surrounding Ninja Forms is vibrant and filled with resources to help you every step of the way. From beginner tutorials to advanced tips and tricks, there’s a wealth of information at your fingertips.
Here are some valuable resources you can tap into:
- Ninja Forms Documentation: Comprehensive guides that cover everything from basic setup to advanced functionalities.
- Video Tutorials: Visual learners can benefit from a plethora of video content available on platforms like YouTube, showcasing practical examples of form creation.
- Community Forums: Engage with fellow Ninja Forms users to share insights, troubleshoot issues, and gain inspiration from others’ projects.
- Webinars and Live Demos: Participate in these interactive sessions to learn directly from experts, ask questions, and see Ninja Forms in action.
Connecting with others can significantly enhance your learning experience. Joining the community means gaining access to a network of users who share your enthusiasm. Here’s how you can get involved:
- Social Media Groups: Seek out Facebook and LinkedIn groups dedicated to Ninja Forms to exchange ideas and get feedback on your forms.
- Meetups and Workshops: Look for local or virtual meetups where you can collaborate with other users, share experiences, and learn from one another.
- Contribute to Blogs: Writing about your own experiences or insights can be a great way to give back to the community and establish your expertise.
To help you kickstart your form-building journey, we’ve compiled a quick reference table showcasing essential Ninja Forms features:
| Feature | Description |
|---|---|
| Drag and Drop Builder | Create forms easily by dragging elements into place. |
| Form Templates | Utilize pre-built templates to save time and get inspired. |
| Conditional Logic | Show or hide fields based on user responses for customized experiences. |
| Integrations | Connect with third-party services like Mailchimp and PayPal effortlessly. |
With these resources and support systems, you’ll be well-equipped to create stunning custom forms that meet your needs. Dive into the community, explore the available tools, and watch as your skills flourish!
Frequently Asked Questions (FAQ)
Q&A for “New Course: How to Create Custom Forms in WordPress with Ninja Forms”
Q: What is this new course about?
A: Our new course teaches you how to create custom forms in WordPress using Ninja Forms. Whether you’re looking to gather leads, conduct surveys, or create registration forms, this course equips you with the skills to design forms that not only look great but also function seamlessly.
Q: Who is this course for?
A: This course is perfect for bloggers, small business owners, web developers, or anyone interested in enhancing their WordPress site. If you want to engage your audience better or streamline your operations, this course is tailored for you!
Q: Why should I choose Ninja Forms for creating my forms?
A: Ninja Forms is user-friendly, highly customizable, and offers a plethora of features without requiring any coding skills. Its drag-and-drop interface makes it easy to build forms quickly, and the extensive add-ons allow you to expand functionality as your needs grow.
Q: Do I need prior experience with WordPress or forms to take this course?
A: Not at all! This course starts with the basics, guiding you step by step through the process of setting up your forms. Even if you’re a complete beginner, by the end of the course, you’ll feel confident in creating custom forms that suit your needs.
Q: What will I learn in this course?
A: You’ll learn everything from installing the Ninja Forms plugin to designing and customizing forms, configuring settings, and even integrating with email marketing services. Plus, you’ll discover best practices for optimizing user experience and collecting valuable data.
Q: How long is the course, and is it self-paced?
A: The course is structured in easy-to-digest modules that you can complete at your own pace. Whether you have a busy schedule or a few hours to spare, you can go through the content whenever it suits you.
Q: Will I receive any support while taking the course?
A: Absolutely! We offer support through our course community, where you can ask questions, share your progress, and connect with other learners. Plus, you’ll have access to additional resources and tutorials.
Q: What are the benefits of creating custom forms for my website?
A: Custom forms enhance user engagement and can significantly boost your conversion rates. They allow you to gather insights about your audience, manage registrations, and streamline inquiries—all of which are essential for growing your online presence and optimizing your workflow.
Q: How do I sign up for the course?
A: Signing up is easy! Just visit our website, navigate to the course section, and register. You’ll gain instant access to all course materials and a vibrant community of fellow learners.
Q: Is there a money-back guarantee?
A: Yes! We believe in the quality of our course, so we offer a 30-day money-back guarantee. If you find that the course doesn’t meet your expectations, just let us know, and we’ll refund your purchase—no questions asked!
Q: Why wait? How do I get started?
A: Don’t miss out on the opportunity to unlock the potential of your WordPress site! Enroll today, and start creating stunning custom forms that will elevate your online presence. Your audience is waiting for your engaging forms—let’s make it happen together!
Future Outlook
As we wrap up our exploration of creating custom forms in WordPress using Ninja Forms, it’s clear that this powerful tool opens up a world of possibilities for your website. Whether you’re looking to collect leads, conduct surveys, or streamline user feedback, mastering Ninja Forms will undoubtedly elevate your website’s interactivity and user experience.
Imagine being able to craft forms that not only look great but also function seamlessly—turning visitors into engaged users and potential customers. With the easy-to-follow steps and tips shared in this article, you’re now equipped with the knowledge to take your forms to the next level.
So why wait? Dive into the course, unleash your creativity, and start building forms that truly resonate with your audience. Your website deserves it, and so do your visitors! Remember, the more engaging and user-friendly your forms are, the more likely you are to achieve your goals. Happy form building!

